Overview
Order Time has several integrator e-commerce partners. The partnership with these platforms makes inventory and order processing system significantly efficient.
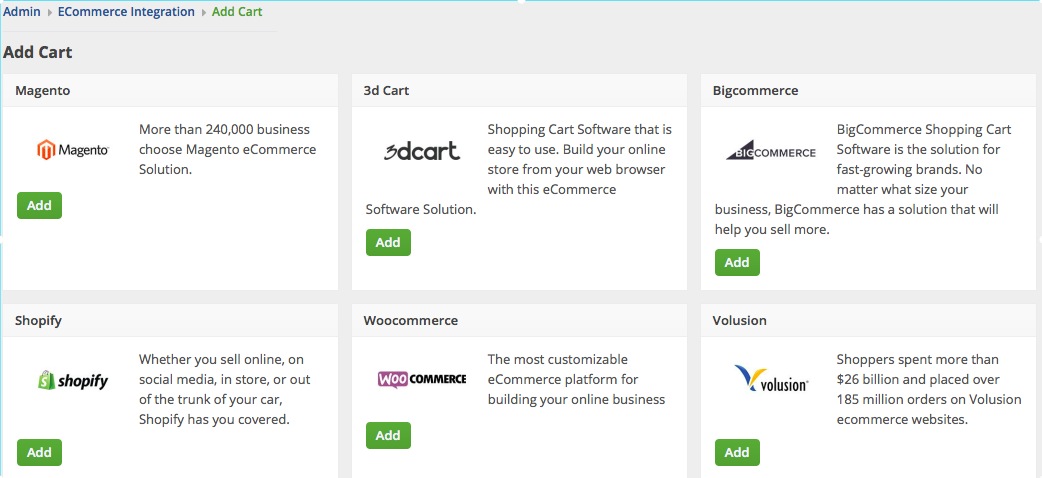
In Order Time, the e-commerce partners are presented as ‘Carts’. When you are setting up your E-commerce Integration in Order Time, you have to add the appropriate connection settings for the cart of your choice.
This article will show you the steps for setting up your Cart and generating connection credentials for the Cart that you selected in Order Time.
Shopify
- Log in to Shopify.
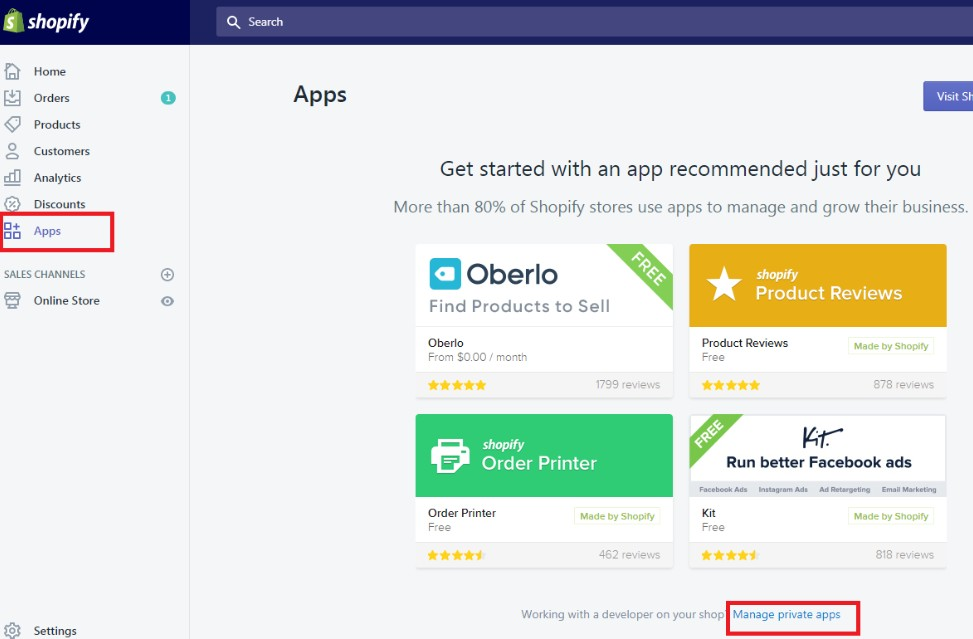
- Click Apps located on the left side of the interface.
- Click Manage Private Apps which is near the bottom of the interface.
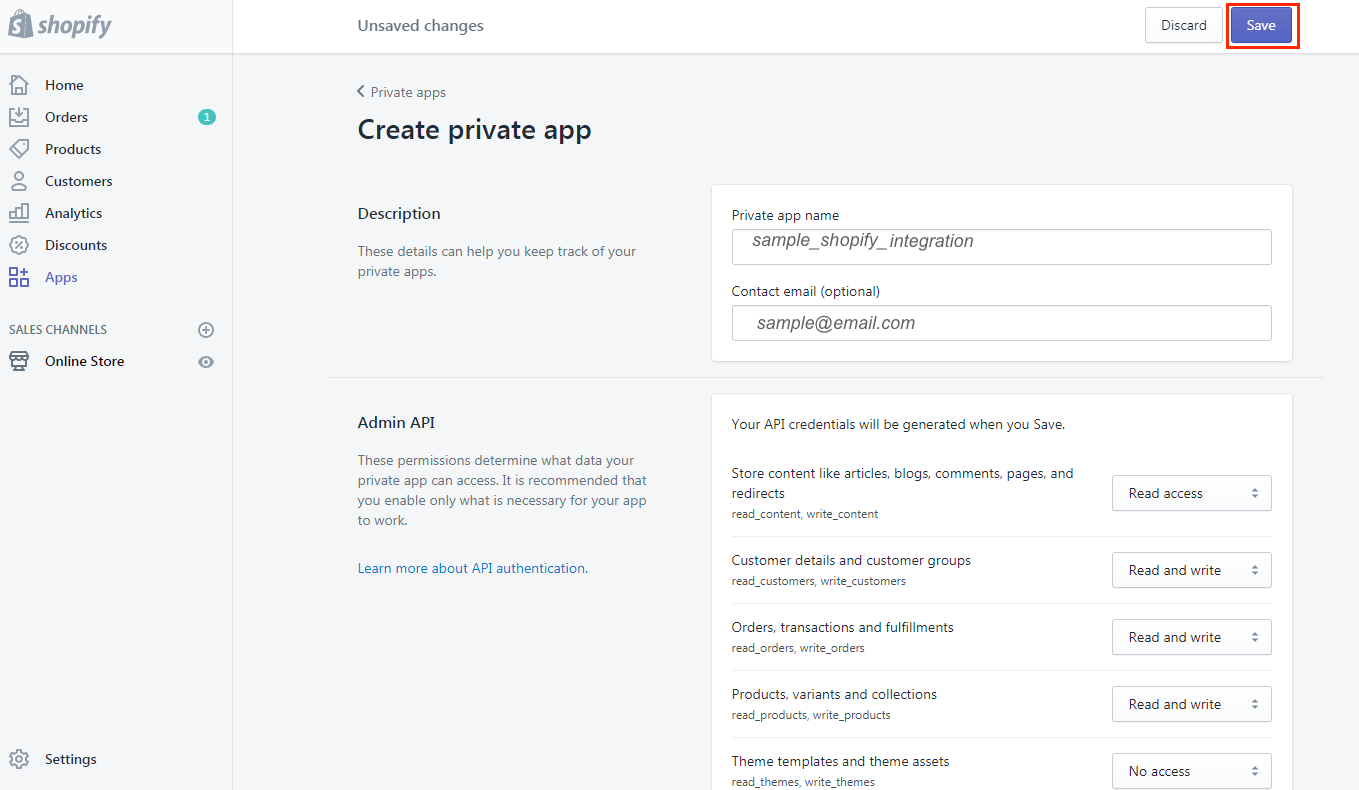
- Click the Create New Private App button.
- Enter the information in the Private app name (integration name) and Contact email fields.

- Make sure the following Permissions are Set to 'Read & Write'
- Customer details and customer groups
- Orders, transactions and fulfillments
- Price rules
- Product information
- Products, variants and collections
- Shipping rates, countries and provinces
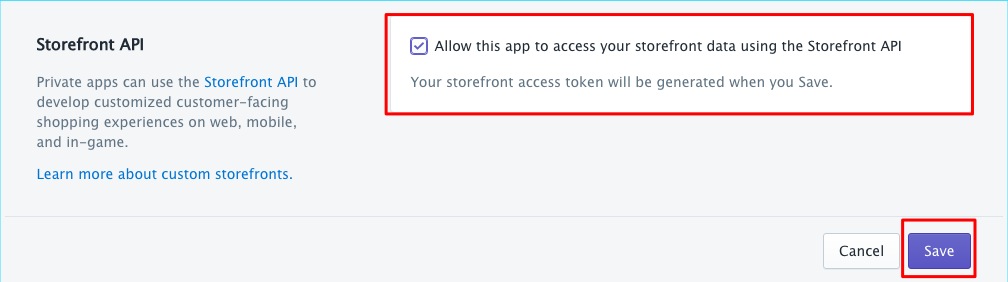
- Check 'Allow this app to access your storefront data using the Storefront API'.
- Click Save.
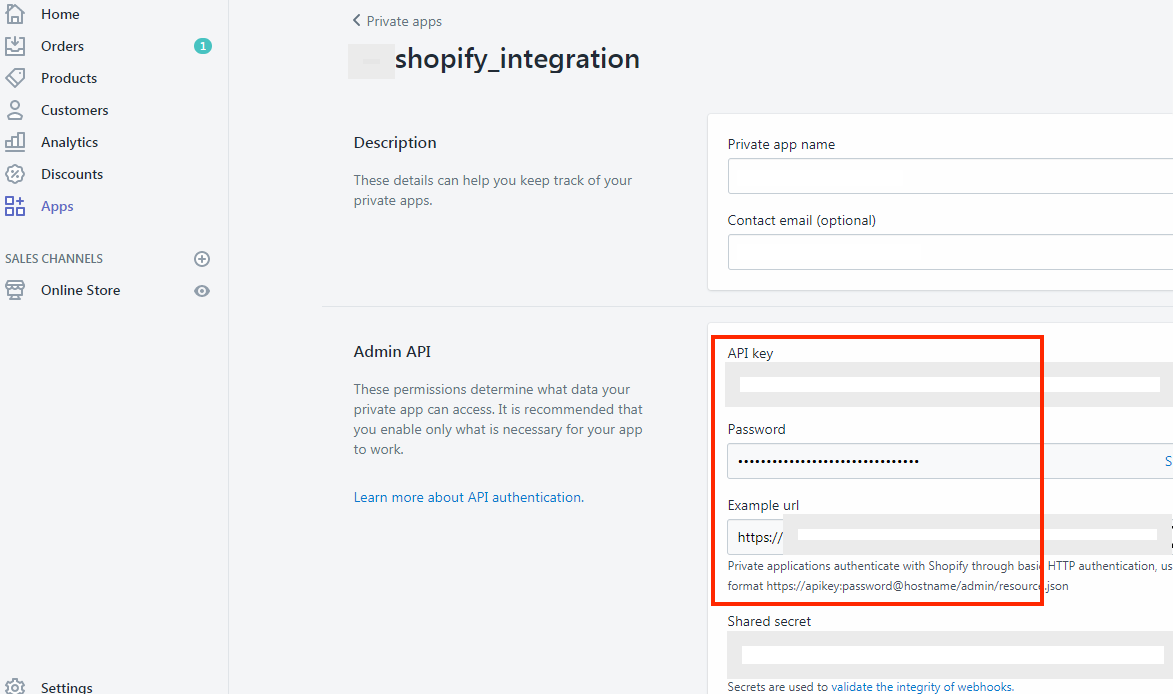
- The page will refresh and you will see the following information. Copy and paste to save them because you will need these information (credentials) for adding the connection settings in Order Time.
- API Key
- Password - Click Show.
- URL


BigCommerce
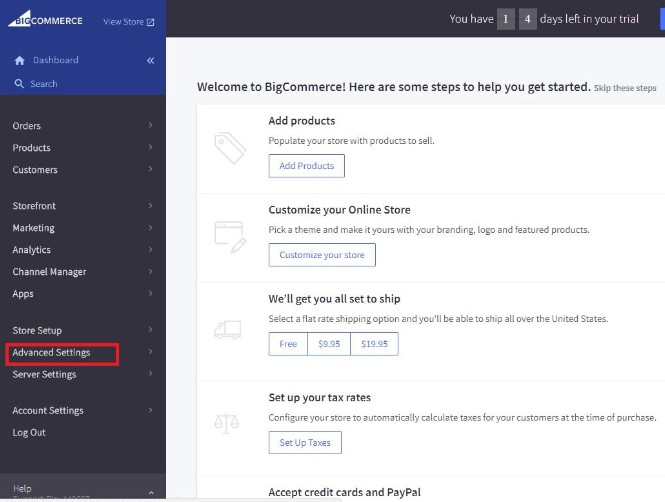
- Log in to BigCommerce.
- Click Advanced Settings located on the left side of the interface.
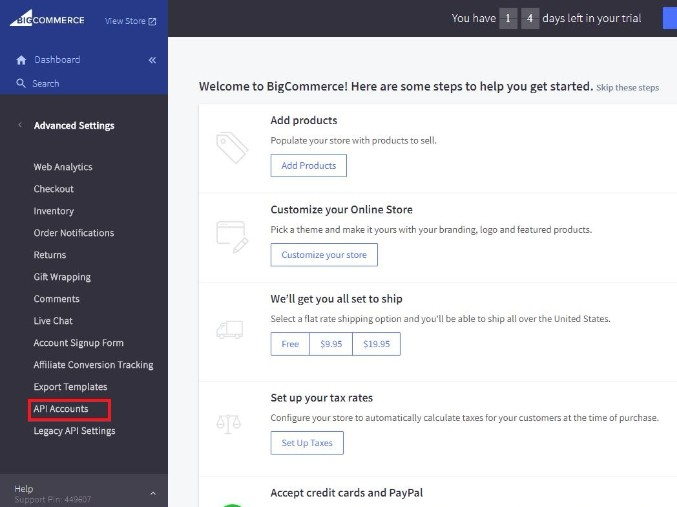
- Click API Accounts.
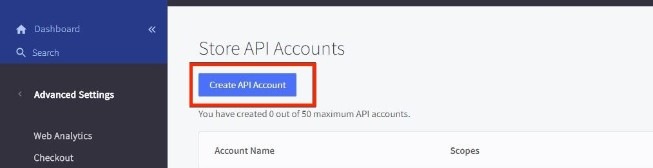
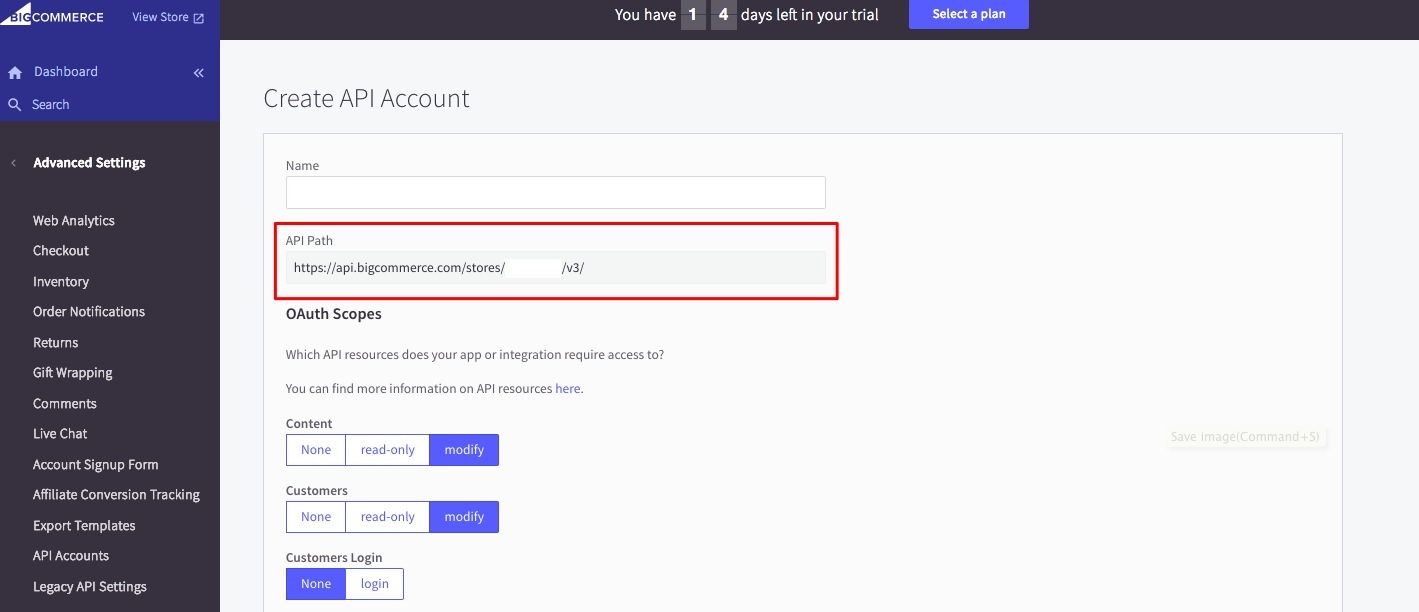
- Click the Create API Account button.
- Enter the information in the Name (integration name) field. Take note of the API Path.
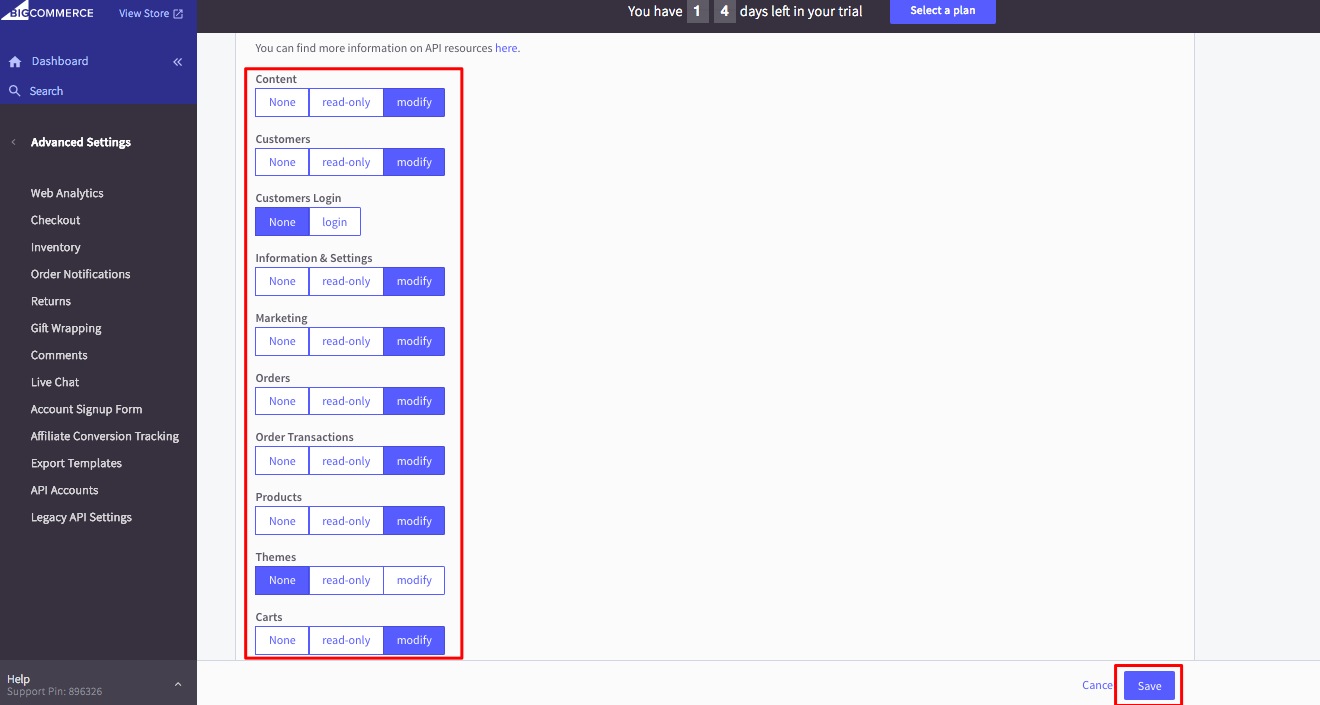
- Set the access to Modify for the following API resources. Note: Leave the default settings for Customers Login and Themes which is 'none'.
- Content - modify
- Customers - modify
- Information and Settings - modify
- Marketing - modify
- Orders - modify
- Order Transactions - modify
- Products - modify
- Carts - modify
- Click Save.
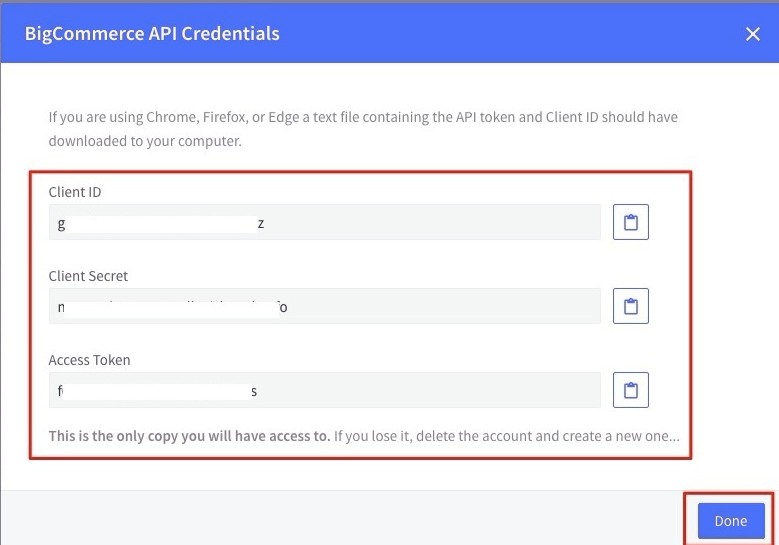
- A window pop-up will display your BigCommerce API Credentials: Client ID, Client Secret and Access Token. Copy and paste the details to save them.
- Click Done.
- On the next page, click ‘Need a legacy API key? Click here.’
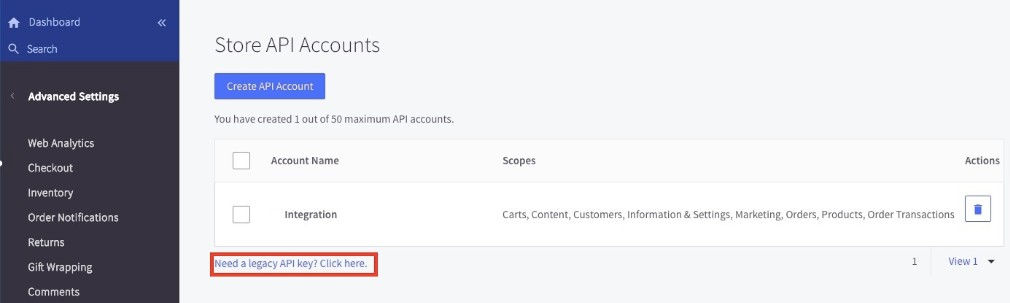
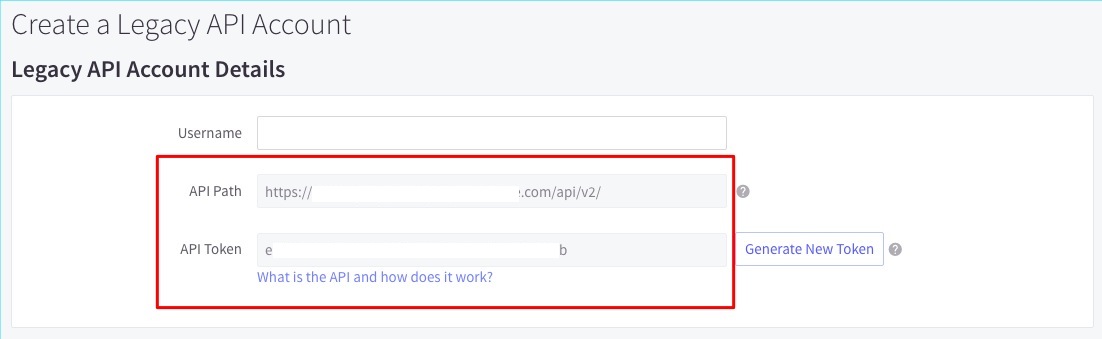
- Click the Create a Legacy API Account button.
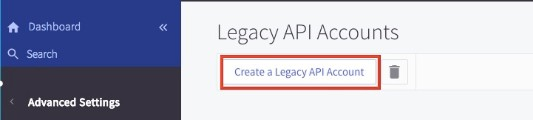
- Enter a Username. Take note of the API Path and API Token. Copy and paste the details to save them. You will need these information (credentials) for adding the connection settings in Order Time.


3dcart
- Log in to 3dcart.
- On your dashboard, click the +Add New button.

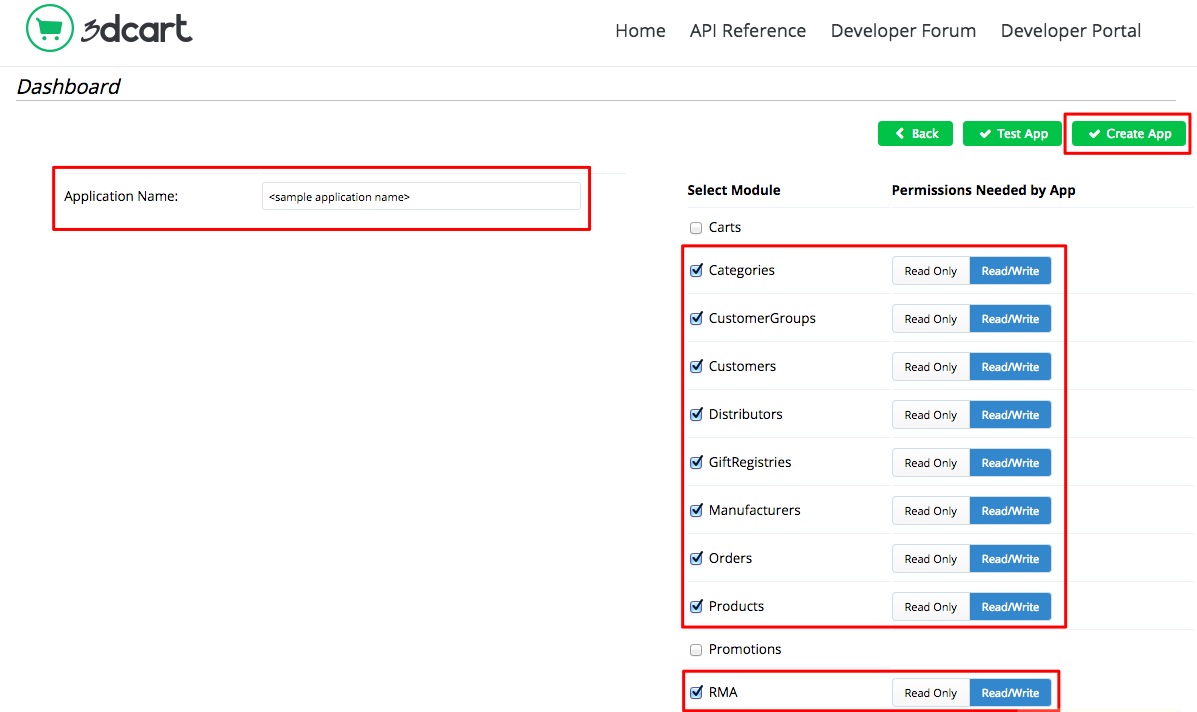
- Enter an Application Name.
- Select the following modules by clicking their checkboxes and click the Read/Write button to set the permission for each module.
- Categories
- Customer Groups
- Customers
- Distributors
- Gift Registries
- Manufacturers
- Orders
- Products
- RMA
- Click the Create App button.
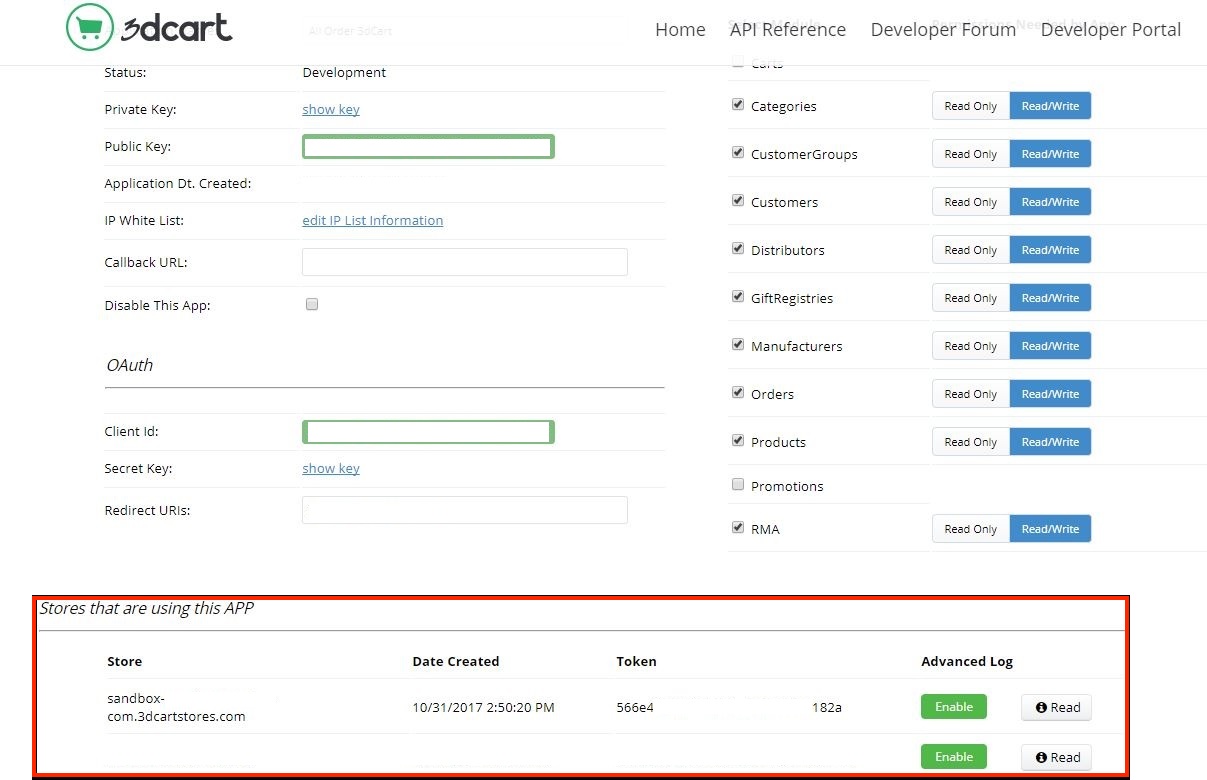
- Take note of the Public Key.
- Take note of the Client ID and Secret Key.
- Select the following modules by clicking their checkboxes and click the Read/Write button to set the permission for each module.
- Categories
- Customer Groups
- Customers
- Distributors
- Gift Registries
- Manufacturers
- Orders
- Products
- RMA
- Enter a value in the Redirect URIs field.
- Click Save.
- Copy and paste the Store and the corresponding Token details to save them. You will need these information (credentials) for adding the connection settings in Order Time.
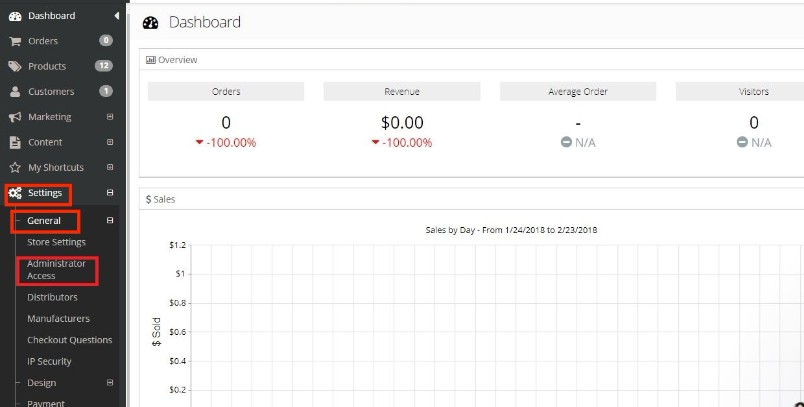
- Open a new tab or window on your browser and log in to your store manager.
- Click Settings > General >Administrator Access.
- Click the +Add New button if you are going to add new users or administrators.

- Click Modules.
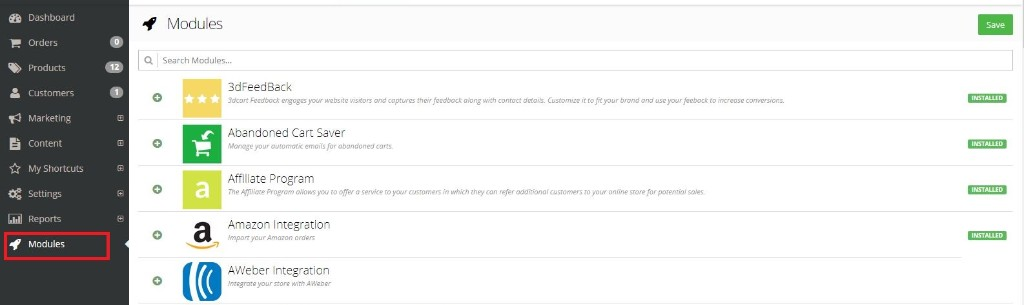
- Select Rest API.
- Click Change Settings.
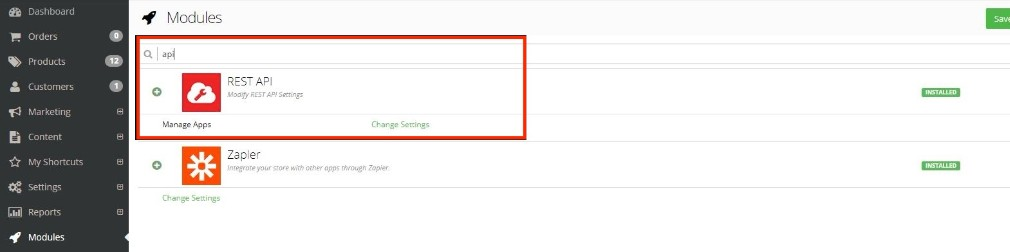
- Click the +Add button on the upper right hand corner.
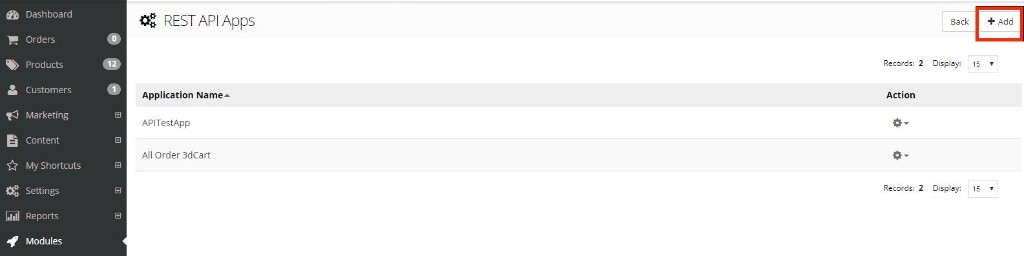
- Enter the Public Key that you got from Step 6 and click +Add.
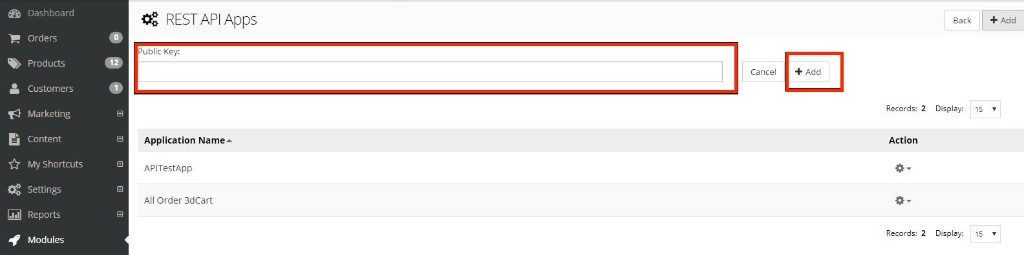
- A pop-up window will display the modules that you have selected and their permission settings. Click +Authorize.
- Click Settings > General > Store Settings. Take note of the Secure URL.
- Click Save.

- Proceed to adding the connection settings in Order Time.


Volusion
- Log in to Volusion.
- Click the Manage Store button.

- Log in to to access your administrator area.
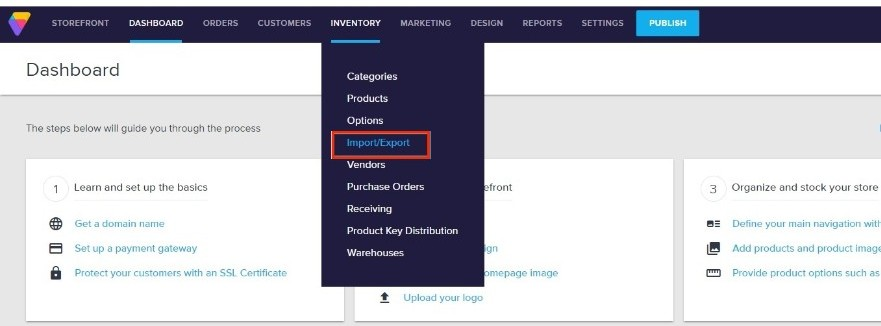
- Click Inventory located on top of the screen. Click Import/Export.
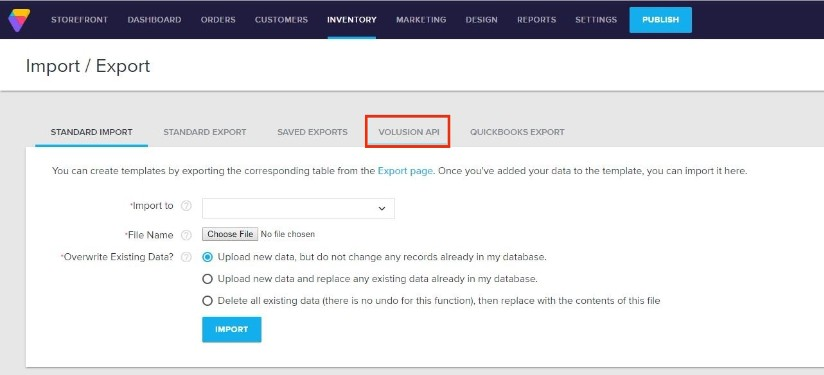
- Select Volusion API.
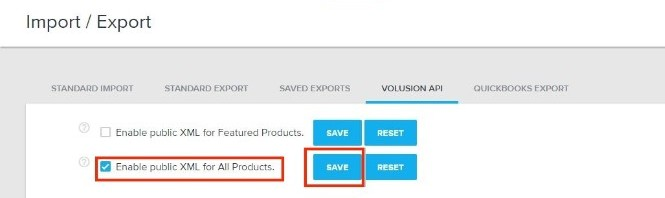
- Select Enable Public XML for All Products and click the Save.
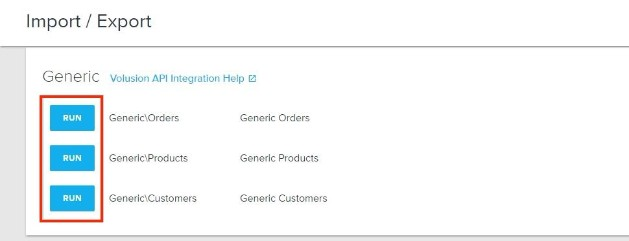
- Scroll down the interface and click Run for Generic\Orders.
- On the next page, click Run. A URL will be generated. Download or copy and paste the URL. You will need this information (credential) for adding the connection settings in Order Time.
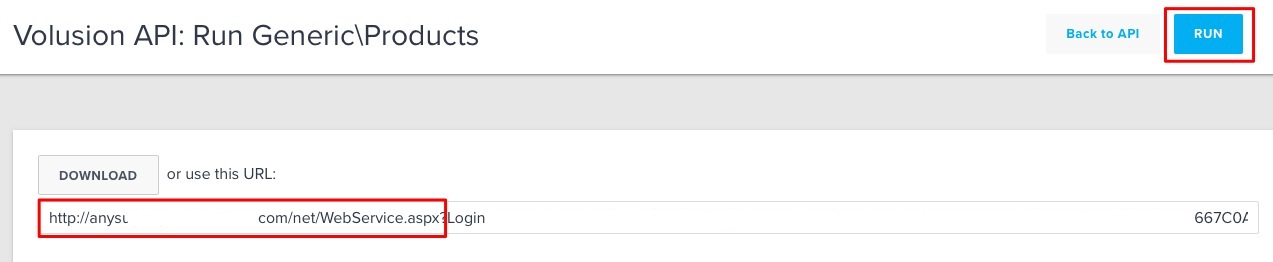
- Click Run for Generic\Products.
- On the next page, click Run. A URL will be generated. Download or copy and paste the URL. You will need this information (credential) for adding the connection settings in Order Time.
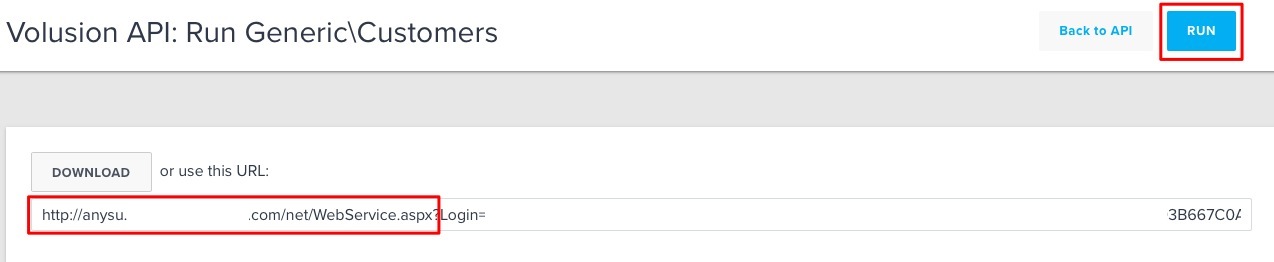
- Click Run for Generic\Customers.
- On the next page, click Run. A URL will be generated. Download or copy and paste the URL. You will need this information (credential) for adding the connection settings in Order Time.

- Proceed to adding the connection settings in Order Time.


Magento V1
- Log in to Magento. Note: This is for Version 1.
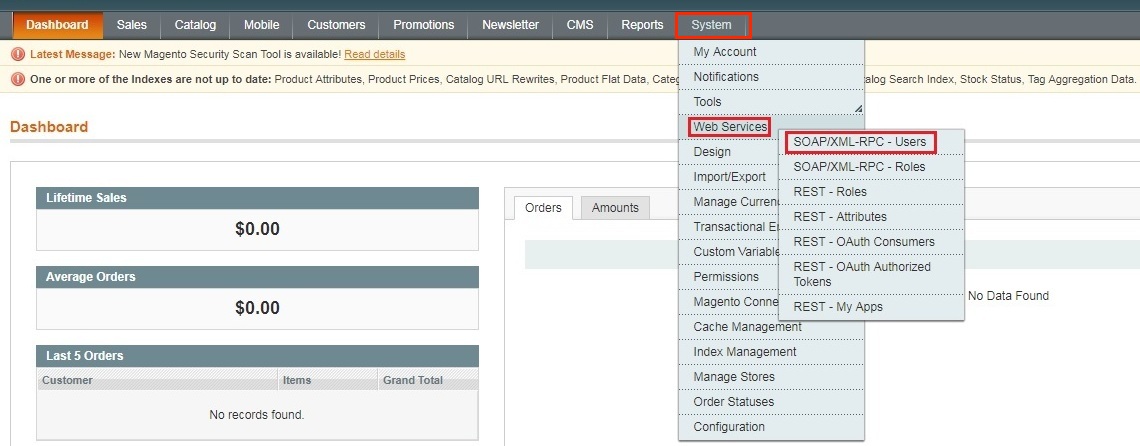
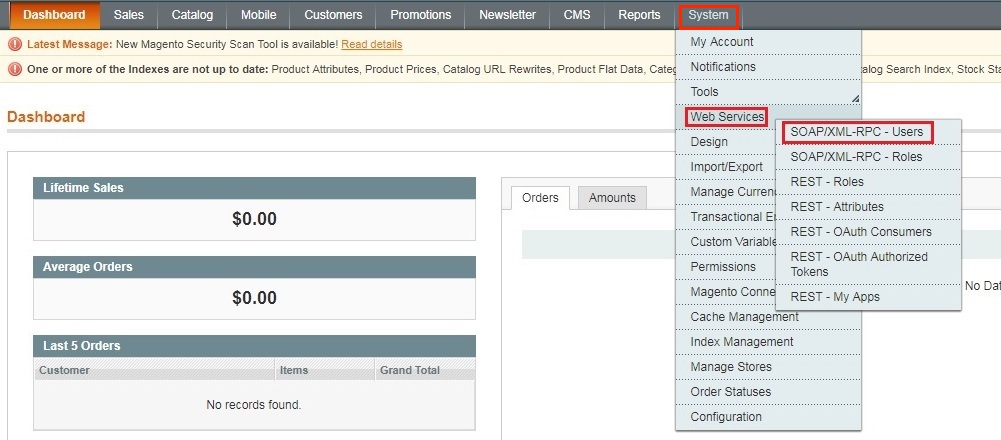
- Click System > Web Services > SOAP/XML-RPC - Users.
- Click the +Add New User button on the upper right hand corner of the interface.

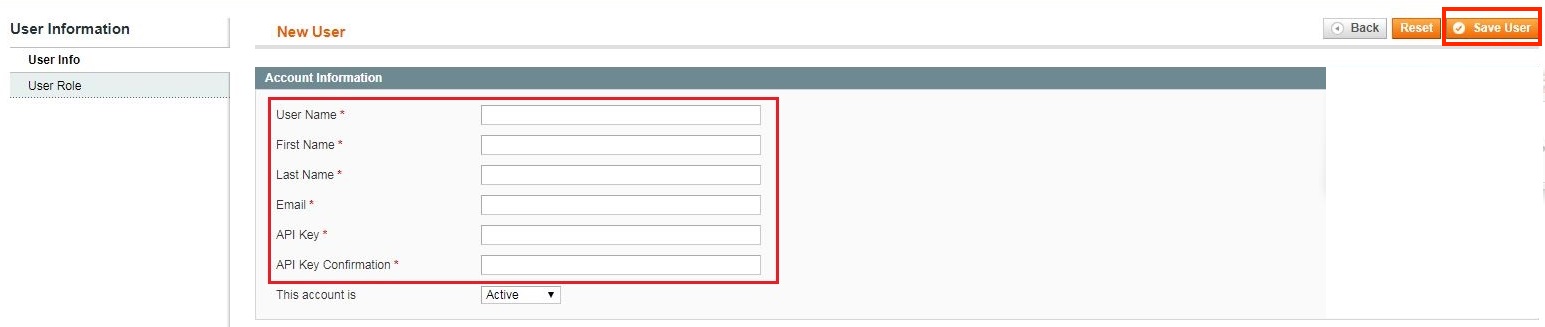
- Provide your Account Information by filling out the required fields. Important: These required fields are user-provided fields. The user assigns the values for these fields. Take note of the values particularly the User Name and API Key because you will use these information (credentials) for adding the connection settings in Order Time.
- User Name
- First Name
- Last Name
- API Key
- API Key Confirmation
- Click the Save User button.
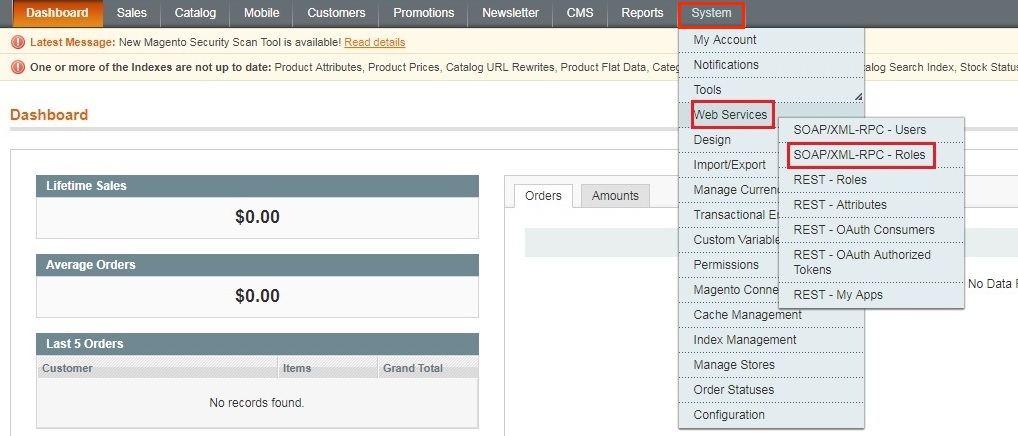
- Click System > Web Services > SOAP/XML-RPC - Roles.
- Click the +Add New Role button on the upper right hand corner of the interface.

- Enter a Role Name.
- Click the Save Role button.

- Select Role Resources on the left side bar of the interface.
- Set Resource Access to All.
- Click the Save Role button.

- Click System > Web Services > SOAP/XML-RPC - Users.
- Select User Role on the left side bar of the interface.
- Select the Role Name by clicking the button under Assigned. Click the Save User button.

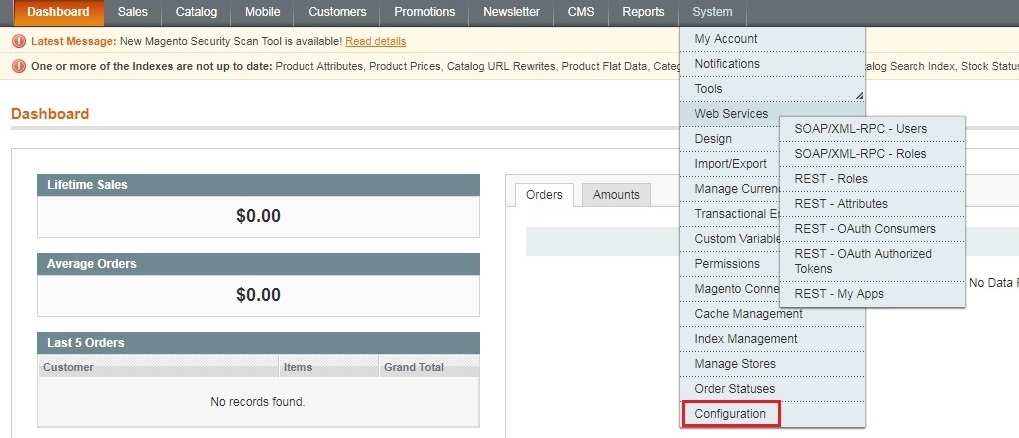
- Click System > Configuration.
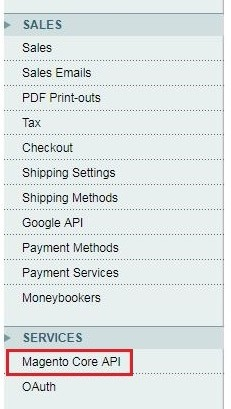
- Scroll down and on the left side bar, select Magento Core API under Services.
- Set the General Settings to:
- Default Response Charset - UTF-8
- Client Session Timeout (sec.) - 3600
- WS-I Compliance - Yes
- Enable WSDL Cache - No
- Click the Save Config button.

- Proceed to adding the connection settings in Order Time.


Magento V2
- Log in to Magento with your Administrator login credentials.
- Click System > Integrations on the left side bar of the interface.
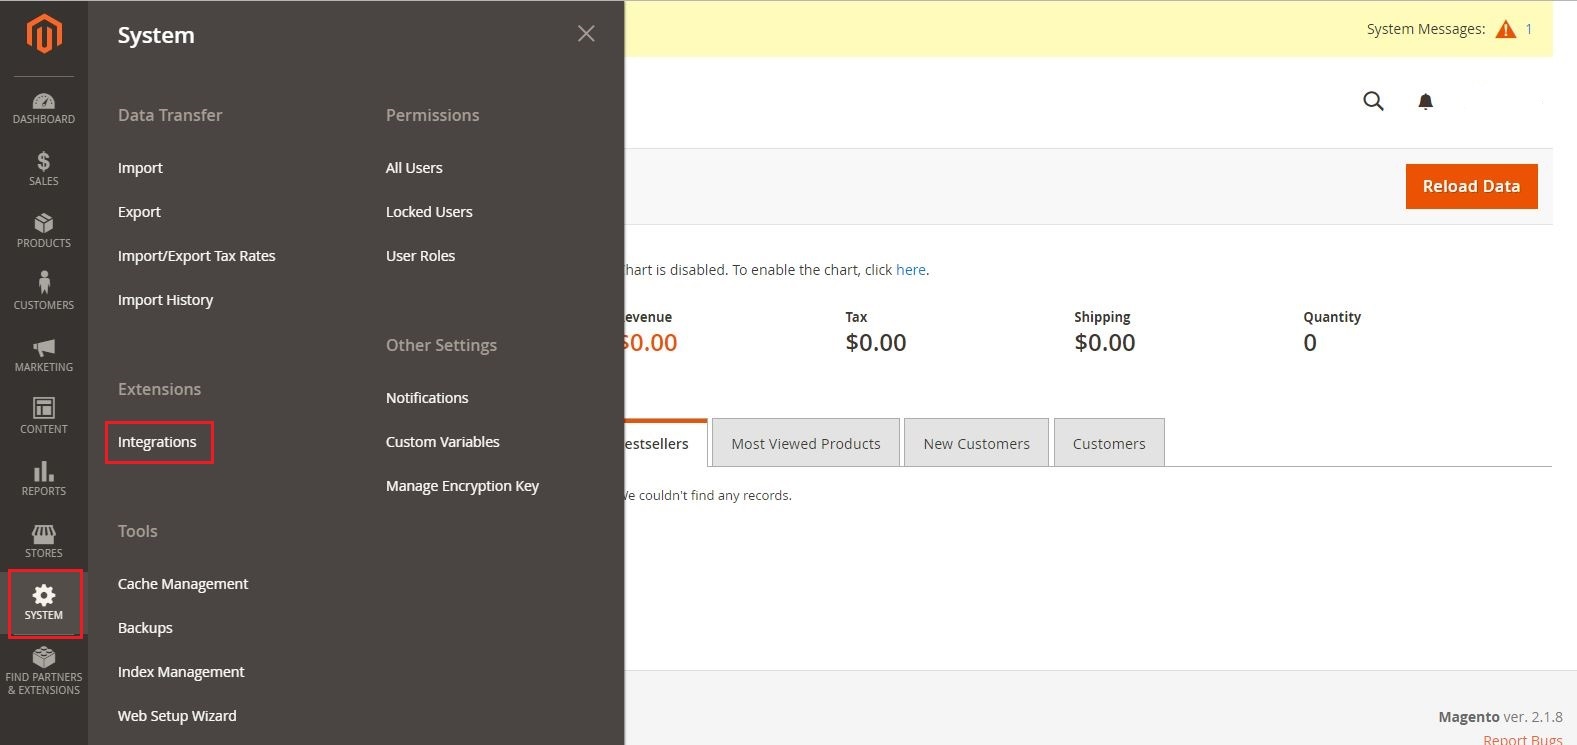
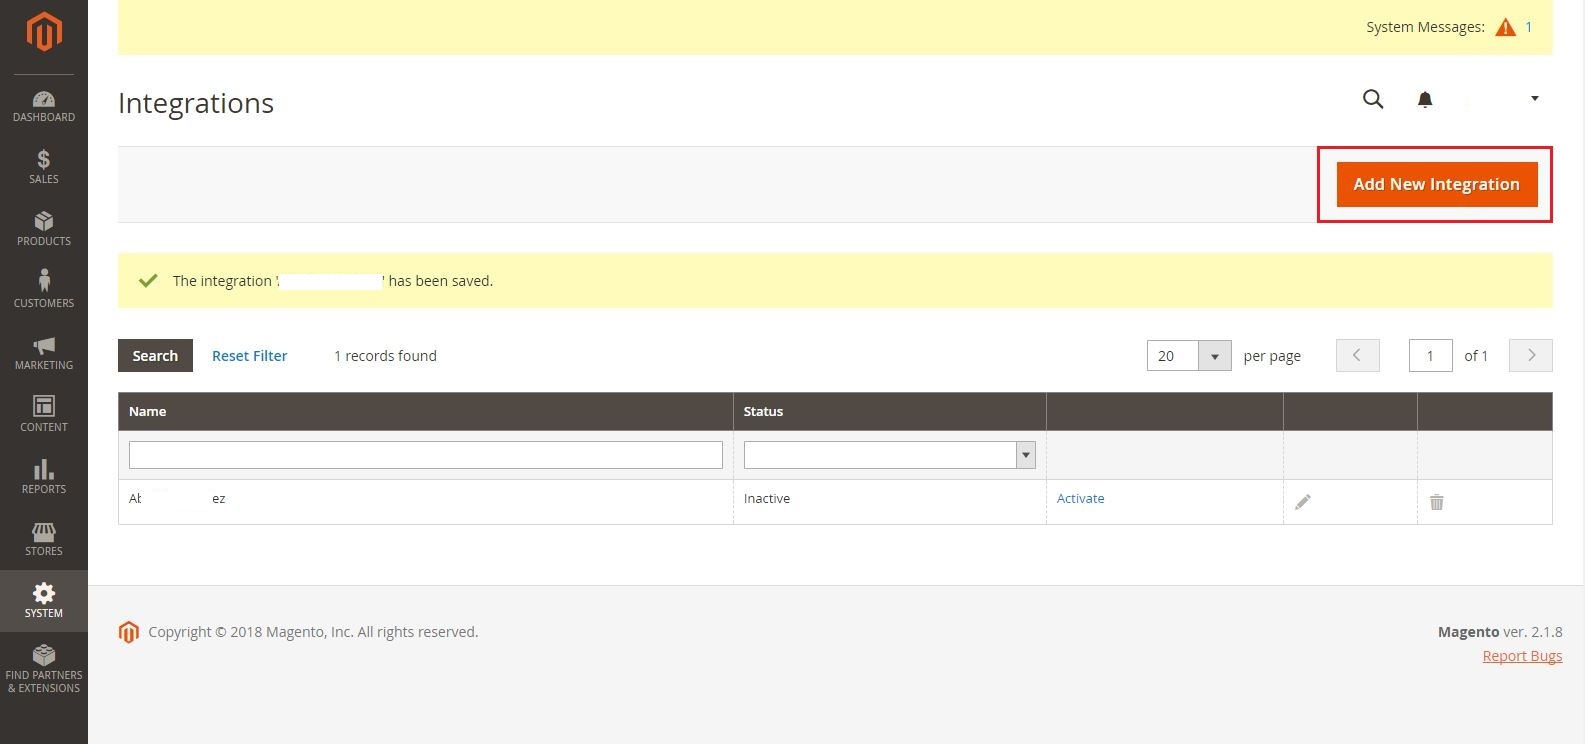
- Click the Add New Integration button.
- Click Integration Info and enter values for the fields:
- Name
- Your Password - This is the same as your login password.
- Click Save.

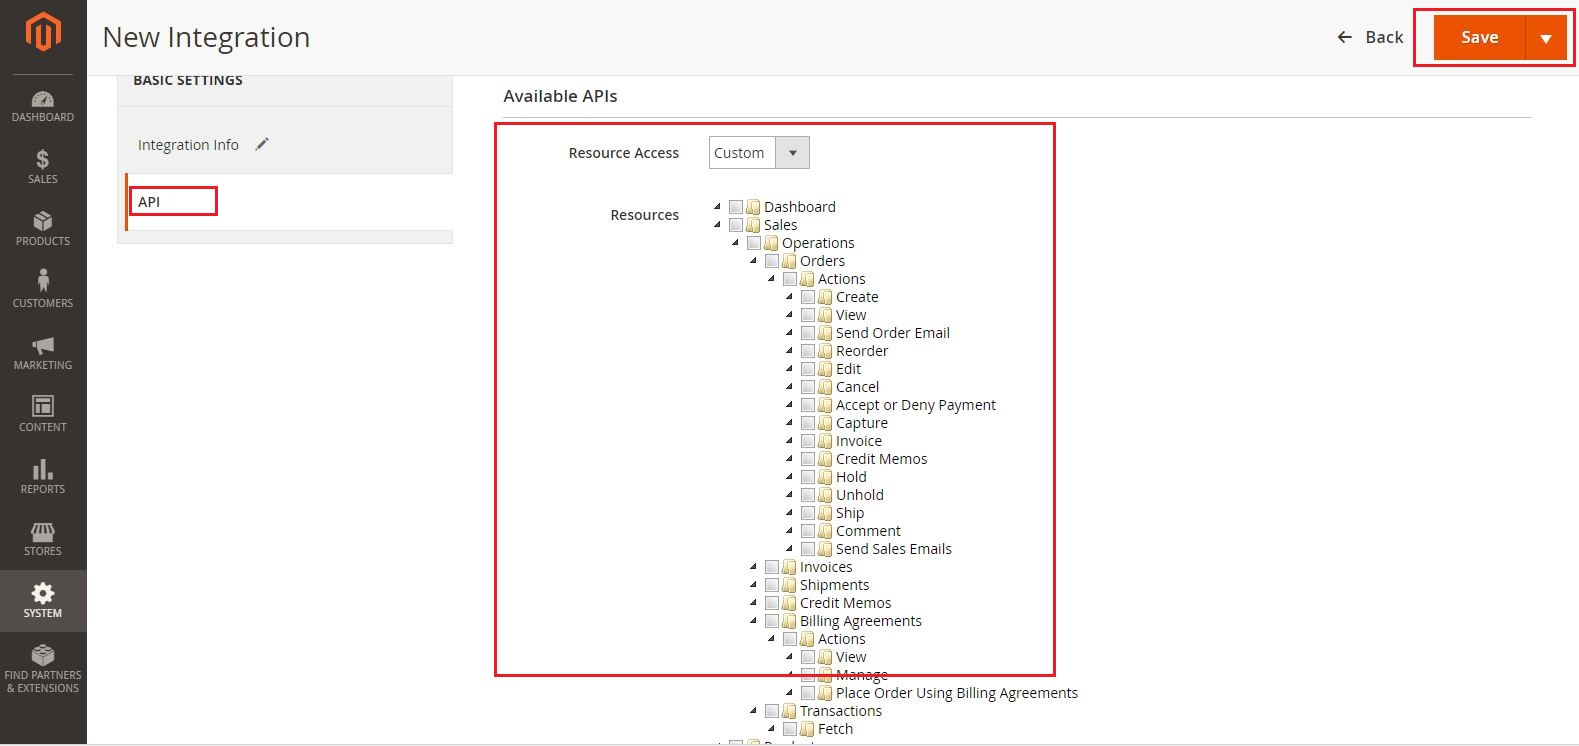
- Click the API tab. Select the Magento resources the integration can access. You can select all resources, or select a custom list. Note: It is recommended to select at least Orders and Shipments for the resources that will be included in integration.
- Click Save.
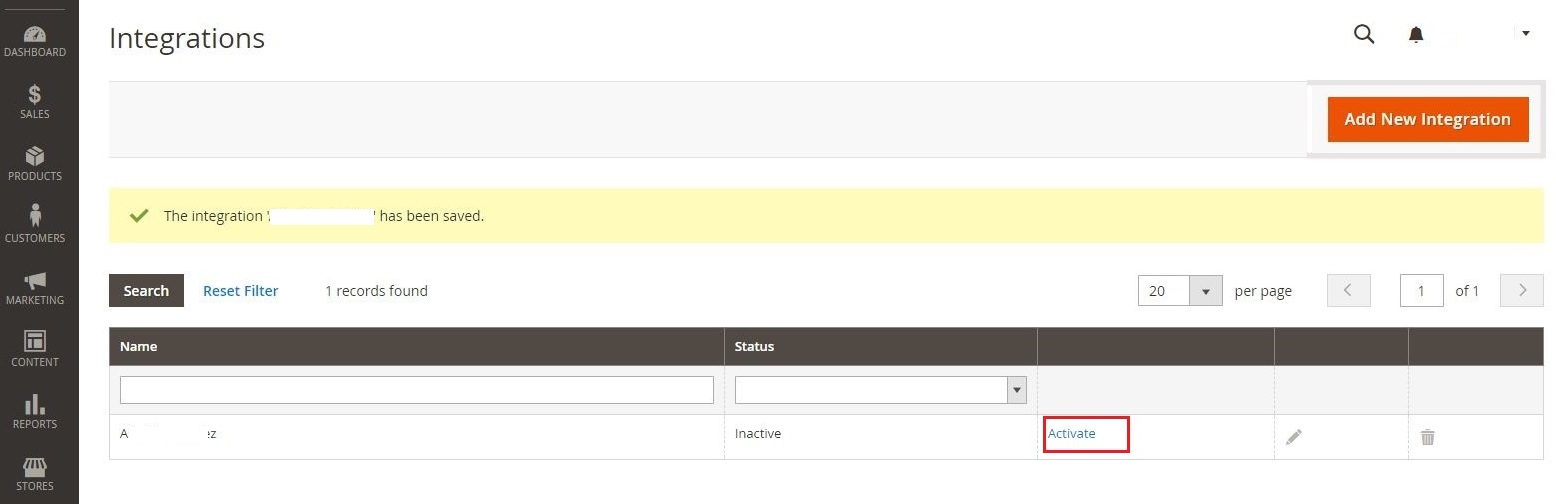
- On the Integrations page, click Activate.
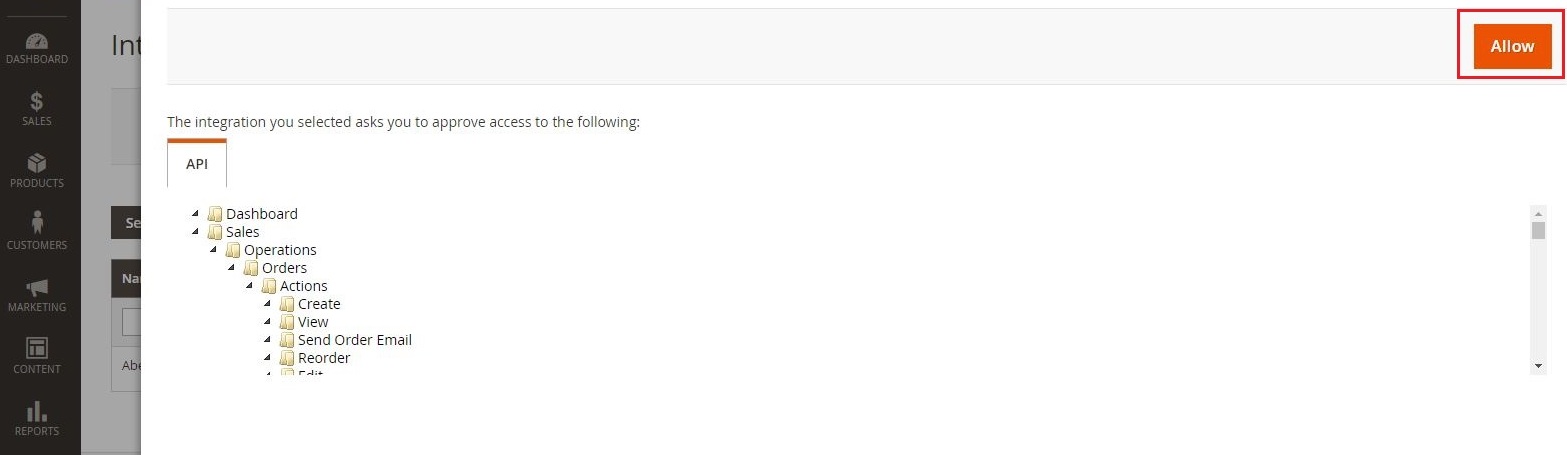
- Click Allow to approve access for the resources you have selected.
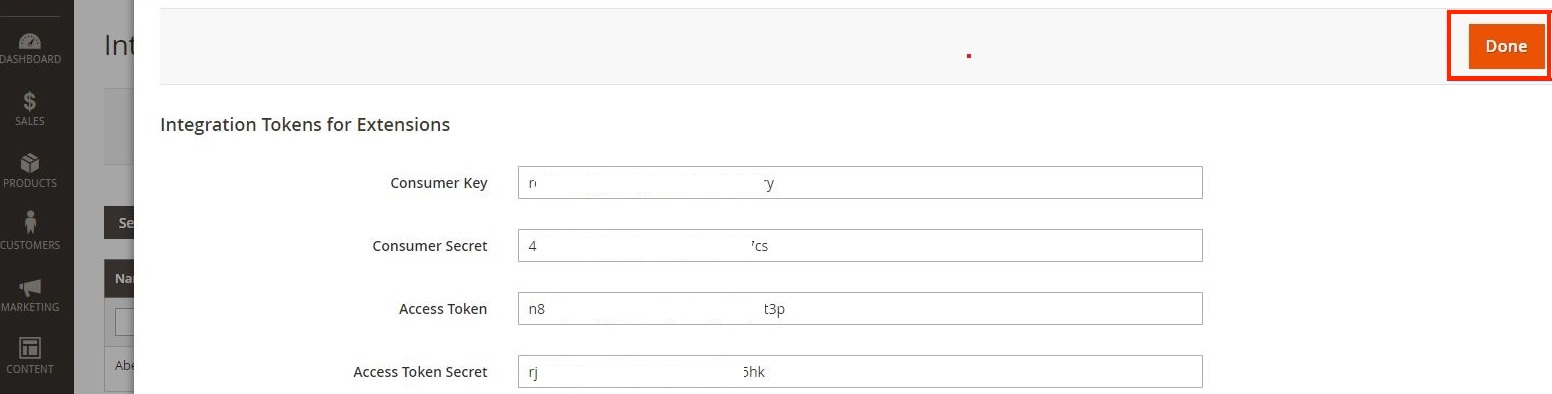
- The Integration Tokens for Extensions will be displayed. Click Done.
- Proceed to adding the connection settings in Order Time.


WooCommerce
- Log in to WooCommerce.
- Click WooCommerce > Settings on the left side bar of the interface.
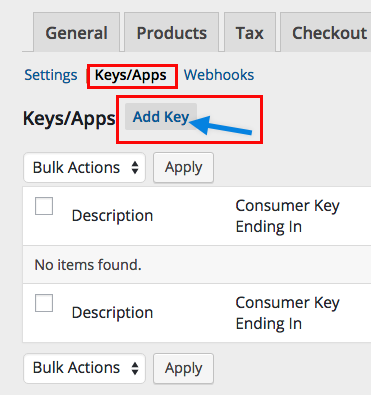
- Click the API tab.
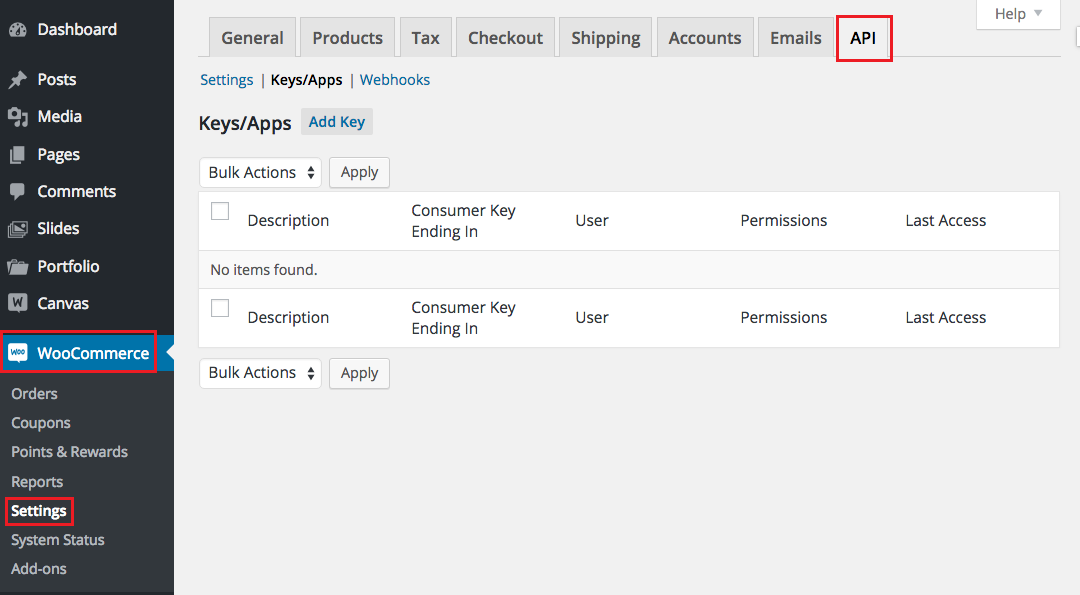
- Click Keys/Apps.
- Click the Add Key button.
- Enter the values in the Description and User fields.
- Set Permissions to Read.
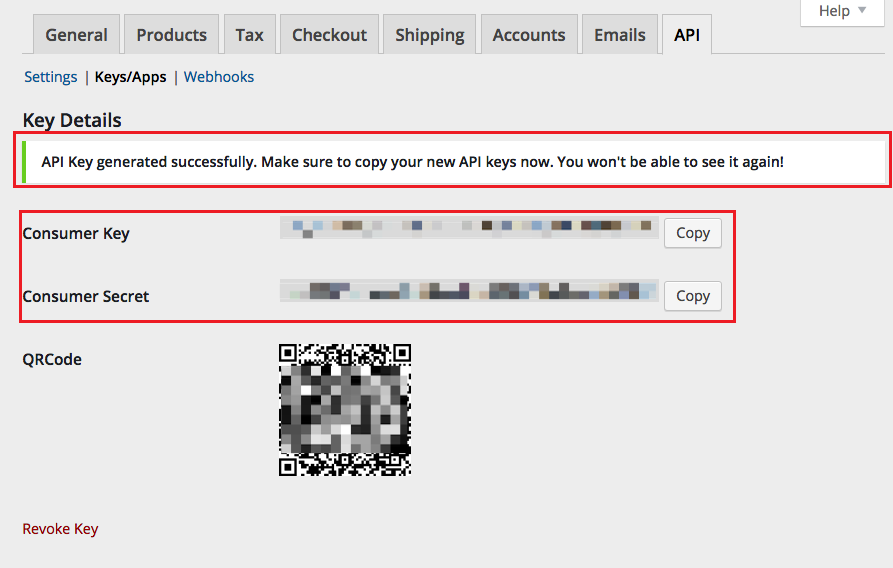
- Click the Generate API Key button.

- On the next page, copy the Consumer Key and Consumer Secret to save them. You will need these information (credentials) for adding the connection settings in Order Time.
- Proceed to adding the connection settings in Order Time.


