Overview
A step-by-step guide on how to set up and configure ACH (Automated Clearing House) / eCheck payment requests in your email templates. By following these instructions, you can streamline the process of requesting ACH payments from your customers.
Enabling ACH Payment Requests
Before you can start sending ACH payment requests, you need to ensure that this feature is enabled. Follow these steps to get started: Sending Payment Requests & Using the Payment List
Setting Up a Payment Gateway
To process ACH payments, you'll need a payment gateway. Here's how to set it up. Once you have enabled ACH payment requests, proceed to configure your payment gateway: Setting Up a Payment Gateway
Customizing the Email Template
To create a seamless ACH payment experience for your customers, you'll need to customize your email templates. Follow these steps to modify the template:
 Access your Admin Panel and click on Email Templates (in the Settings section)
Locate your existing Sales Order Payment Email template, which you need to clone using the small three sheets of paper icon on the right side.

You will know it's the clone by looking in the Name Field and seeing that it says 'clone' in the name.
In the template editor, you will see the space where the payment link is inserted, typically labeled as {!link}.
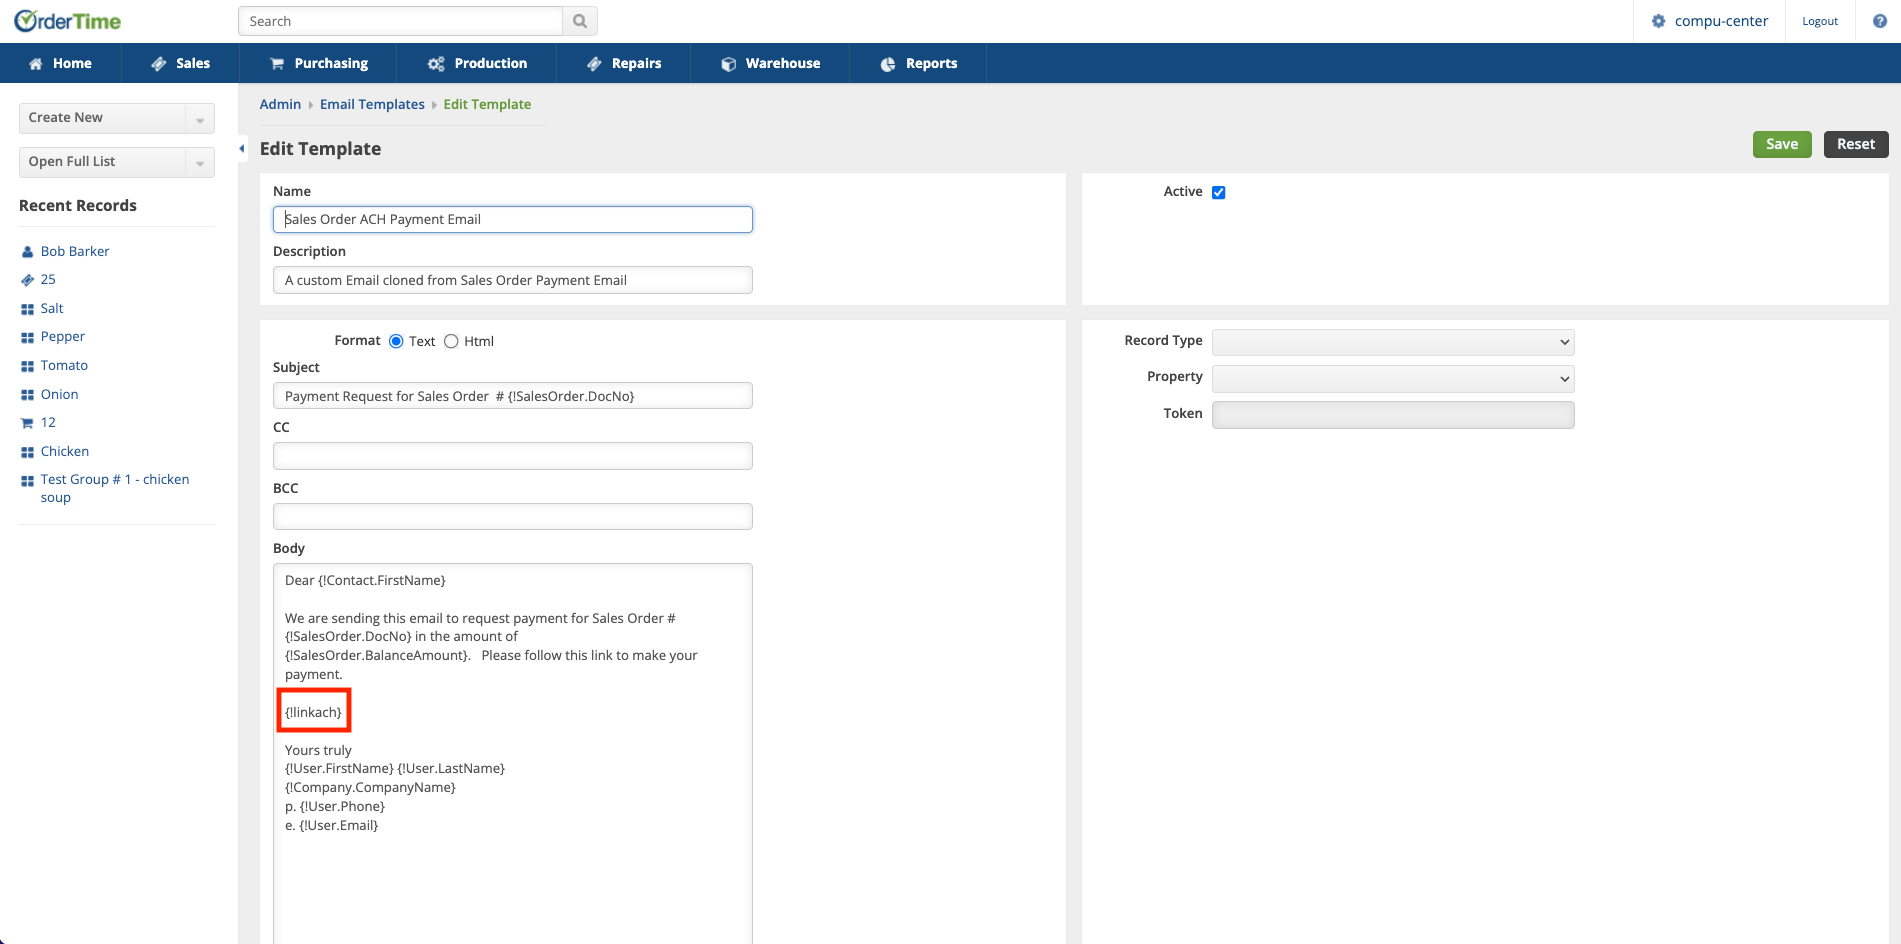
Modify the placeholder by adding "ach" into the brackets. Your edited template should look like this: {!linkach}.
Both {!link} and {!linkach} can be used in a single Email Template to allow your customers to pay whichever way they'd like depending on the circumstances.
Special HTML Customization
Instead of having {!link} and {!linkach} show up as long website URLs you can create nice and neat looking templates with a little bit of HTML.
Swap the format to HTML with the selector above the Email Subject. There you can use the link icon or the show code icon to manipulate the HTML within the template.

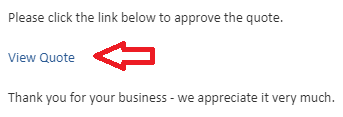
Then to create a special link, use or modify this code:
<a href="{!link}" target="_blank">View Quote</a><a href="{!linkach}" target="_blank">View Quote</a><a href="{!link}" target="_blank">Pay via Credit Card</a><a href="{!linkach}" target="_blank">Pay via ACH</a>
It will appear like this in the template: