Overview
Order Time is like a one-stop shop that aids you in putting together tasks, transactions, correspondences and other day-to-day undertakings. You can communicate with other contacts or parties directly from the system and you can record note-worthy movements and actions for a particular record.
Email sending is disabled by default during the 30 day trial period. Contact us at support@ordertime.com and we can verify your identity to enable this feature in your trial sandbox.
Sending Email
You can send an email directly from Order Time. This an efficient way of handling communication because correspondents are centralized in one system and you do not have to change from one interface to another.
Below are the steps below to send an email from Order Time:
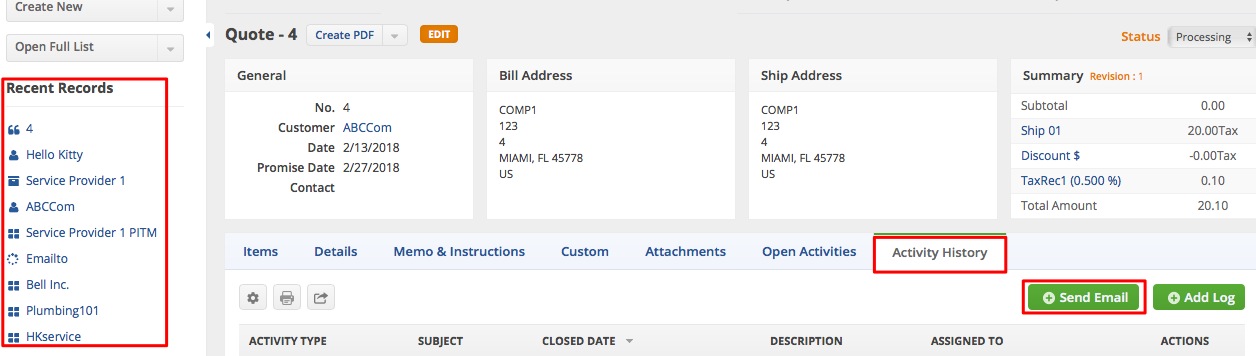
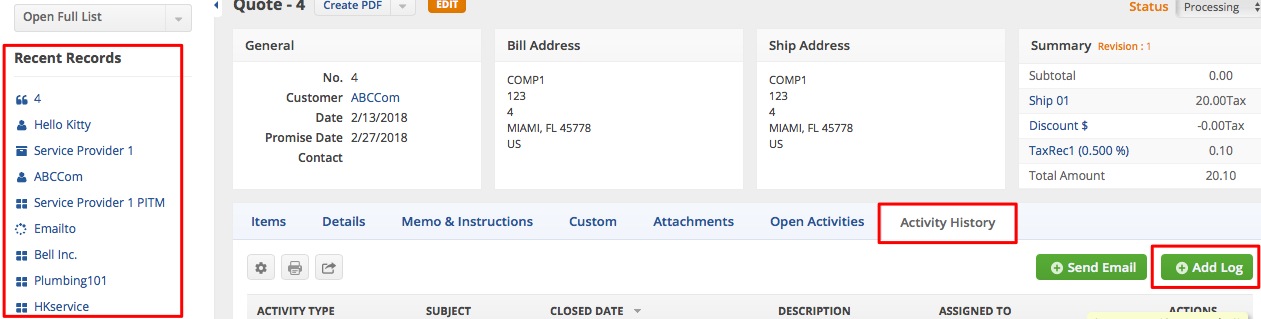
- Click the record that you want to open from the list on the left side of the screen.
- When the record opens up, go to the Activity History tab. Click the +Send Email button.
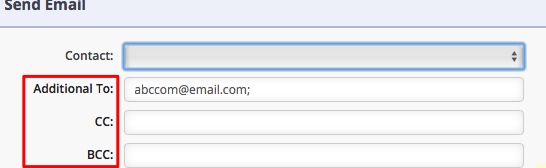
- In the pop-up form, select a Contact.
- Enter values, as needed, in the following fields: Additional To, CC and BCC .
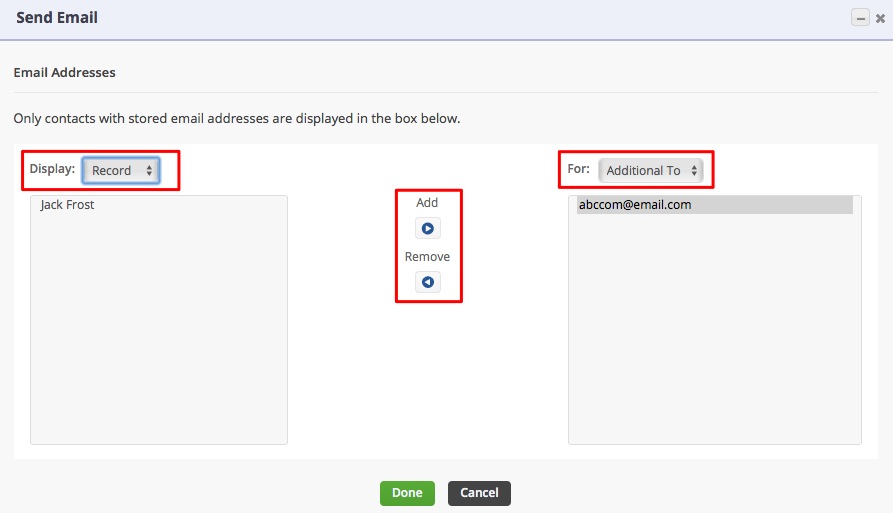
- In addition, Additional To, CC and BCC are links which allows you to choose your addressees by selecting from the Display picklist :
- Users - company users
- Contacts - Customer or Lead Contacts
- Record - Other Email addresses associated with the current record
- In addition, Additional To, CC and BCC are links which allows you to choose your addressees by selecting from the Display picklist :


Contacts are only available for Customer, Leads and Sales Transactions - sales orders, quotes, ship docs and customer returns.
5. Select the appropriate Template from the picklist.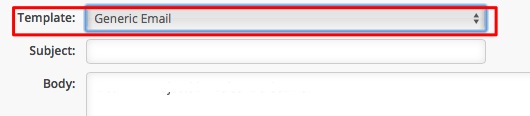
6. Put a Subject in the field.
7. Fill-out the Body.
8. Click the Attach File button if you have an attachment to send.
9. Click Send.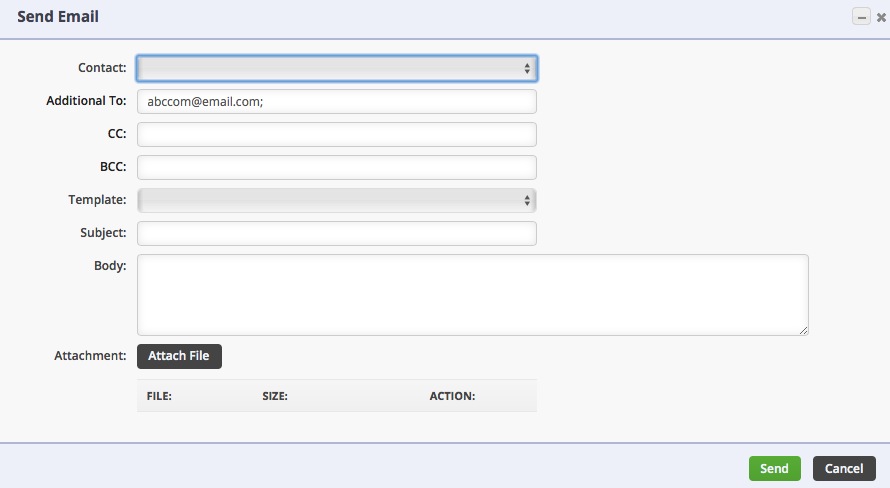
Email Preferences
Order Time allows for the ability of outbound, or "From" emails, to be determined by the Default Company From Email, the current User, or the Company email.
Default Company From Email
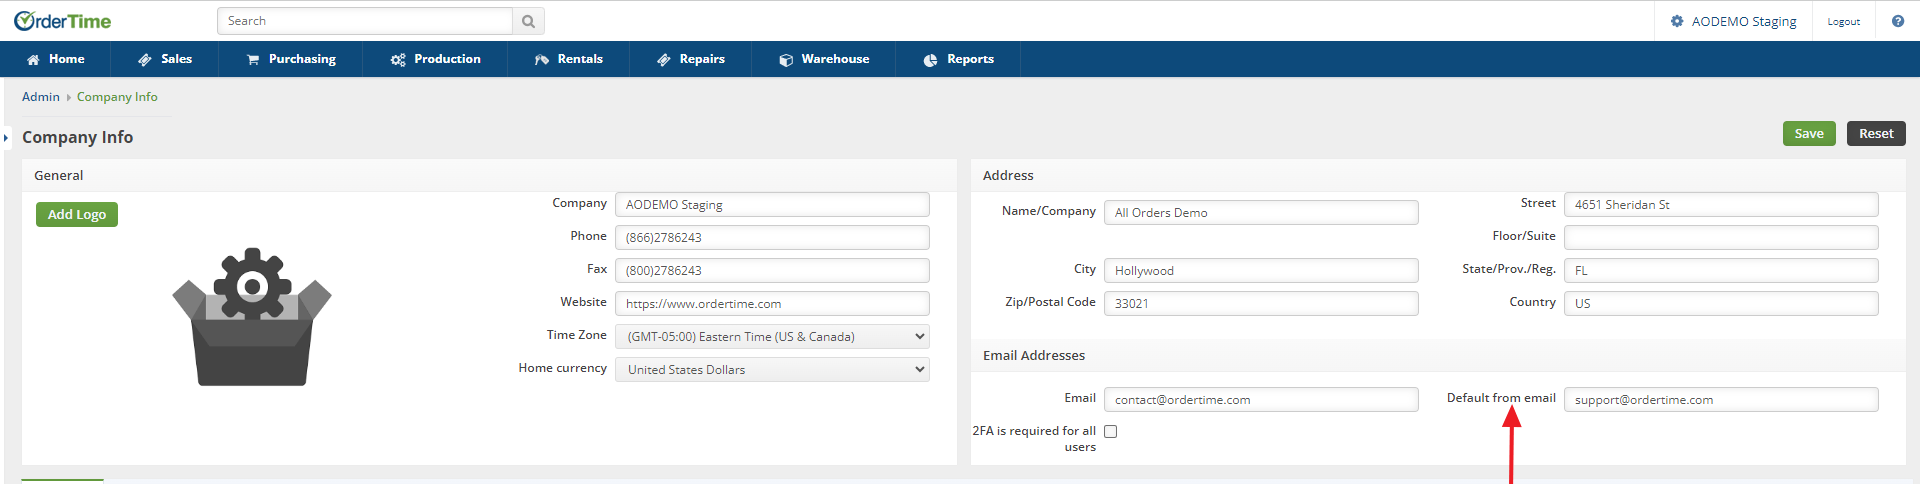
The Default Company From Email should have been created upon the Company set up. However, if there is a need to change or update the Default Company From Email you can access the information by going to Company Info from the Admin screen. Within the Address section is the field for Default From Email.
If you have a need to have outgoing emails reflect a different email address than the Default Company From Email you have that preference capability within Order Time. You have the ability for outbound emails to reflect the User's email address or to select a custom "From" email. You need to ensure. dependent upon your business needs, that one of the two boxes are checked within Company Preferences/Activities.
It is important to note that these Preferences do not apply if you have enabled the email integration with either Gmail or Office365/Outlook. Our mail and calendar integrations supersede these preferences.
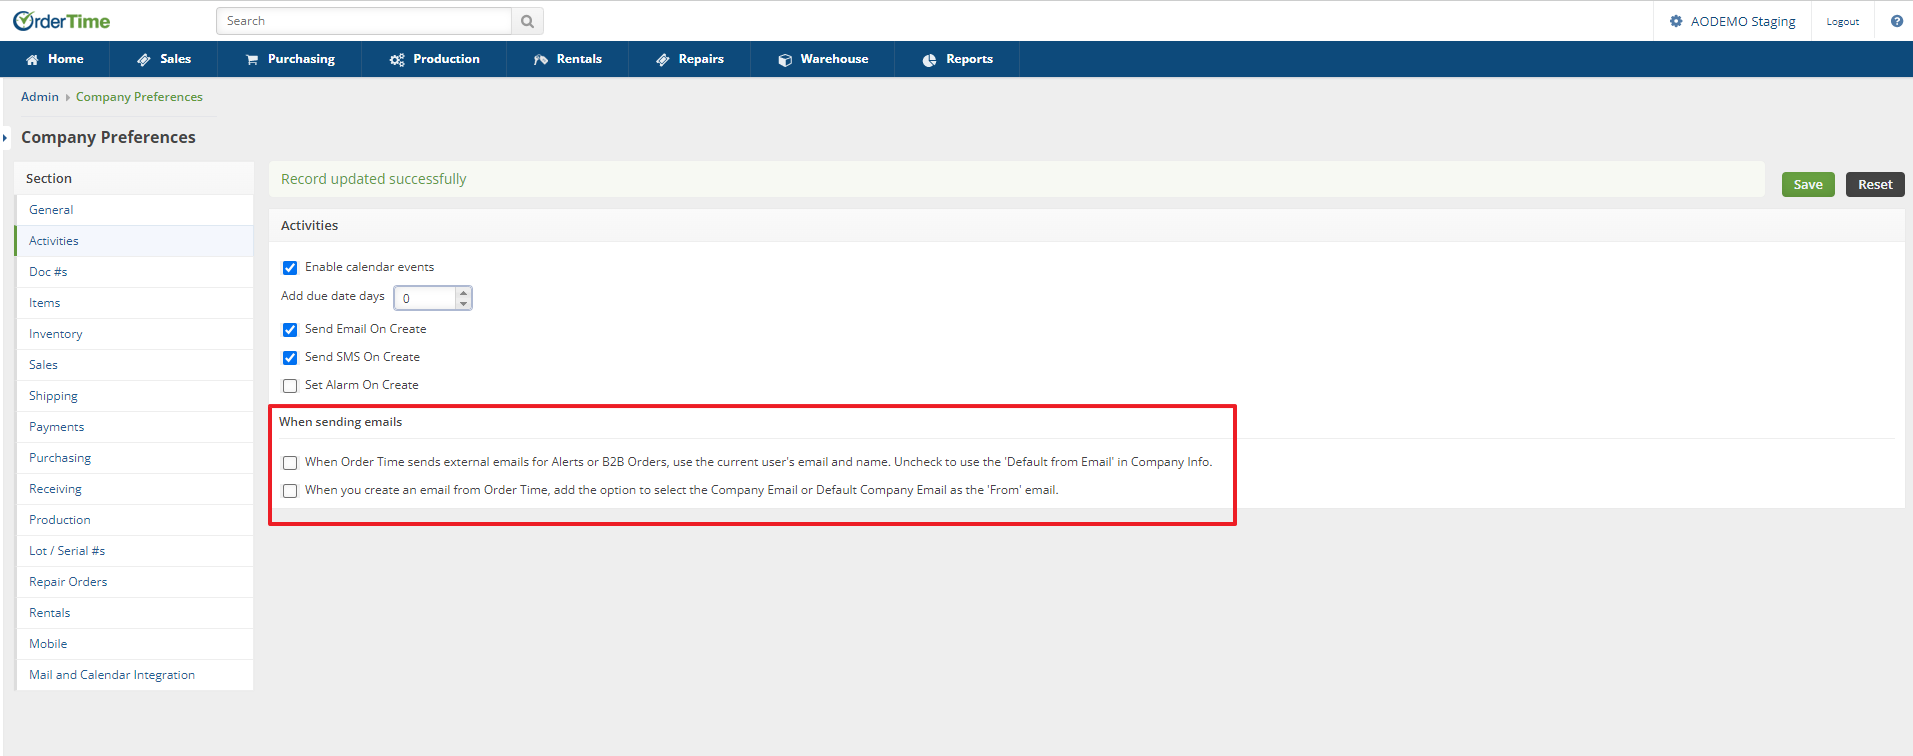
- If both boxes are left unchecked Order Time will use the default From email address. If no default From email address has been entered then the system will use the Company email address.
- If the "When Order Time sends external emails for Alerts or B2B Orders, use the current user's email and name. Uncheck to use the 'Default from Email' in Company Info." box is checked, then the current user's email address will be used. If it is unchecked then Alerts and B2B orders are unchanged from using the default From email address.
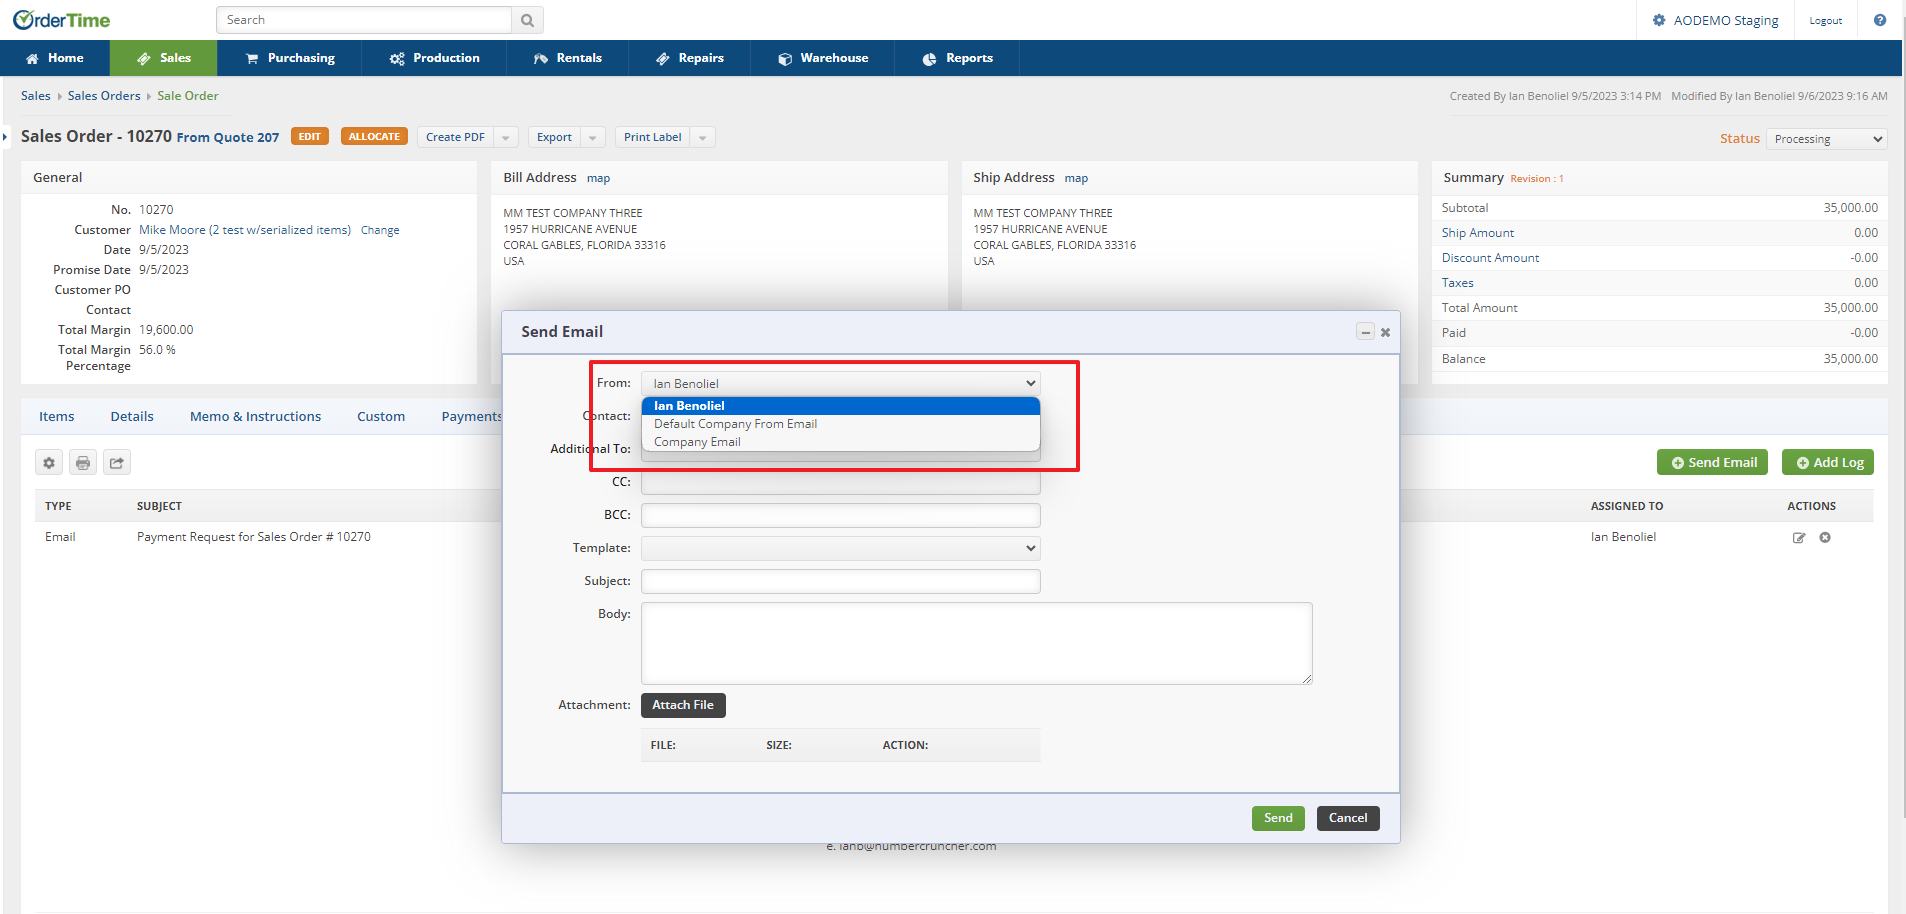
- If the second preference: "When you create an email from Order Time, add the option to select the Company Email or Default Company Email as the 'From' email." box is checked, then the drop-down options between using the current user, the Company email or the Default From email will be presented for sending emails from all documents such as Sales Orders, Purchase Orders, etc. This is used when sending an email from those documents via the Send Email button.
Log
Adding/Editing Log
Adding logs allows you to record movements, actions or communication that are relevant to the record. When a log is created it is tagged as closed.
Follow the steps below to add/edit a log:
- Click the record that you want to open from the list on the left side of the screen.
- When the record opens up, go to the Activity History tab. Click the +Add Log button.
- Select a value from the Assigned To picklist.
- Choose the appropriate Activity Type from the picklist.
- Enter a Subject in the field.
- Set the date and time. Note: You may also set an Alarm.
- Select a Contact.
- Fill-out the Description field.
- Click Save.


