Overview
Reports help in making better business decisions. Reports that are made of carefully selected data and sound analysis provide guidance for more effective inventory management. Scheduling reports to be sent to individuals providing data on inventory, sales or shipments is highly beneficial. Order Time offers a dynamic and simple-to-use Report Scheduler tool. The task of sending different reports to various individuals, which usually takes time and effort, is now a quick and uncomplicated process with the Report Scheduler tool.
Only Master Admins can set up Report Schedules.
There is no technical maximum amount of Reports that you can set the scheduler to send, however emails have a 25MB limit for attachments. If your report size reaches this value the Master Admin will receive the following message:
"The email you were attempting to send for this Report Schedule is larger than the maximum size available. Please reduce the amount of reports in order to send the batch. If you have any questions, please reach out to Order Time Support."
Types of Report Schedules
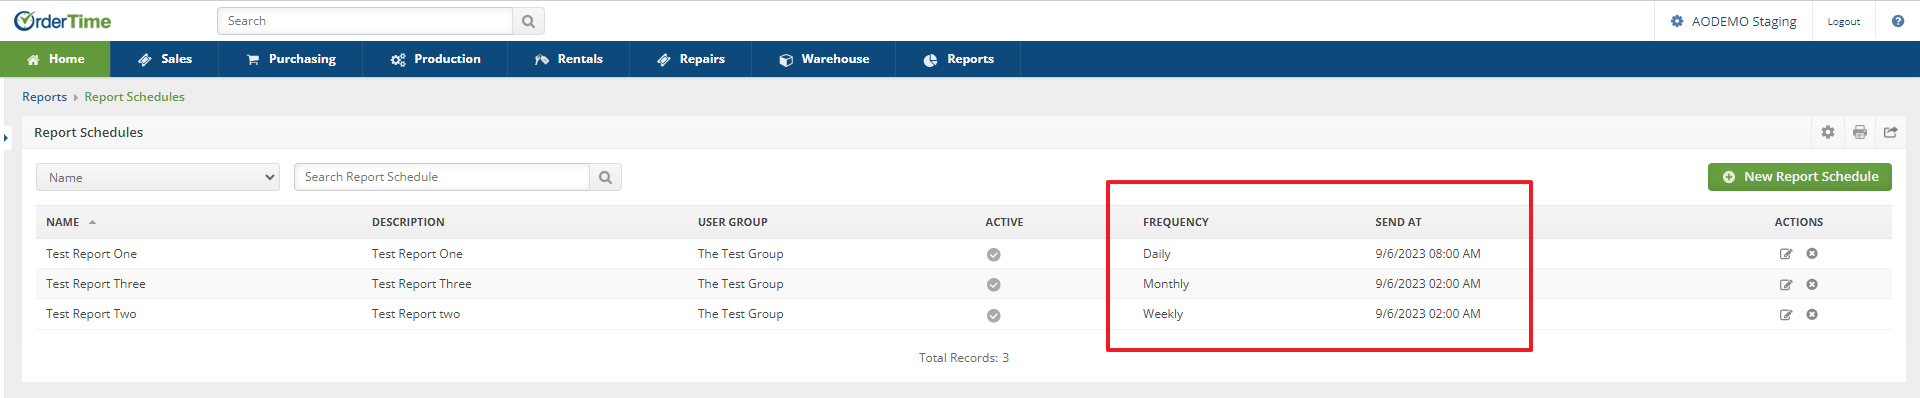
The Order Time Report Scheduler provides the ability to schedule when reports are generated and sent. These are the options for the time frames when a report can be scheduled to be sent. Reports can be sent Daily (on Weekdays only), Weekly, or Monthly.
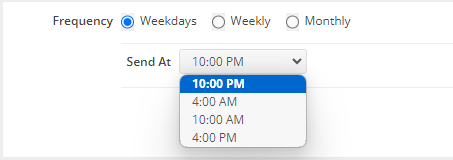
- Time of Day - There are four times during the day when reports can be generated for the Report Scheduler to send out a report. These time frames are driven by UTC (Coordinated Universal Time) and will be specific to your business's time zone. (i.e. for the Eastern Time Zone Order Time defaults to 10pm - 4am - 10am - 4pm)
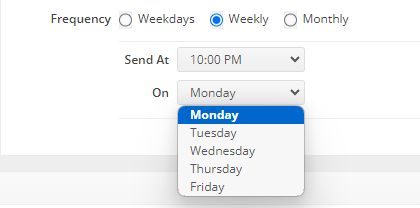
- Day of Week - The Day of Week availability is Monday through Friday.
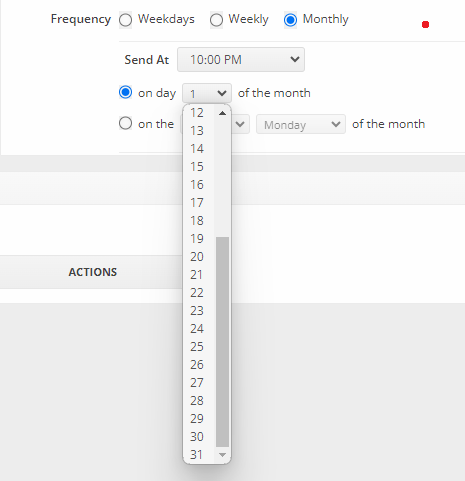
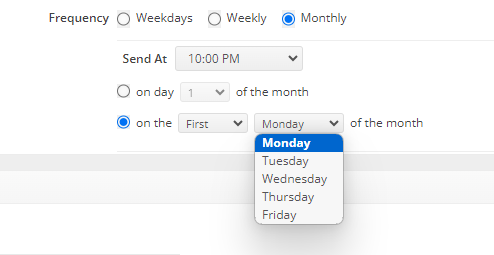
- Monthly - A specific date of each month such as the 15th or the second Thursday of the month. There are exceptions with this process.
- Should the specific date scheduled fall on a weekend day, Order Time will override the Monday - Friday default and send the report on the weekend day.
- Setting the specific date of the 31st will create a scenario where the scheduled report will be sent out on the 30th should the month have only 30 days or on the 28th for February.
- During a Leap Year should the report be scheduled on the 30th or 31st the scheduled report will be sent out on the 29th.
Creating a Report Schedule
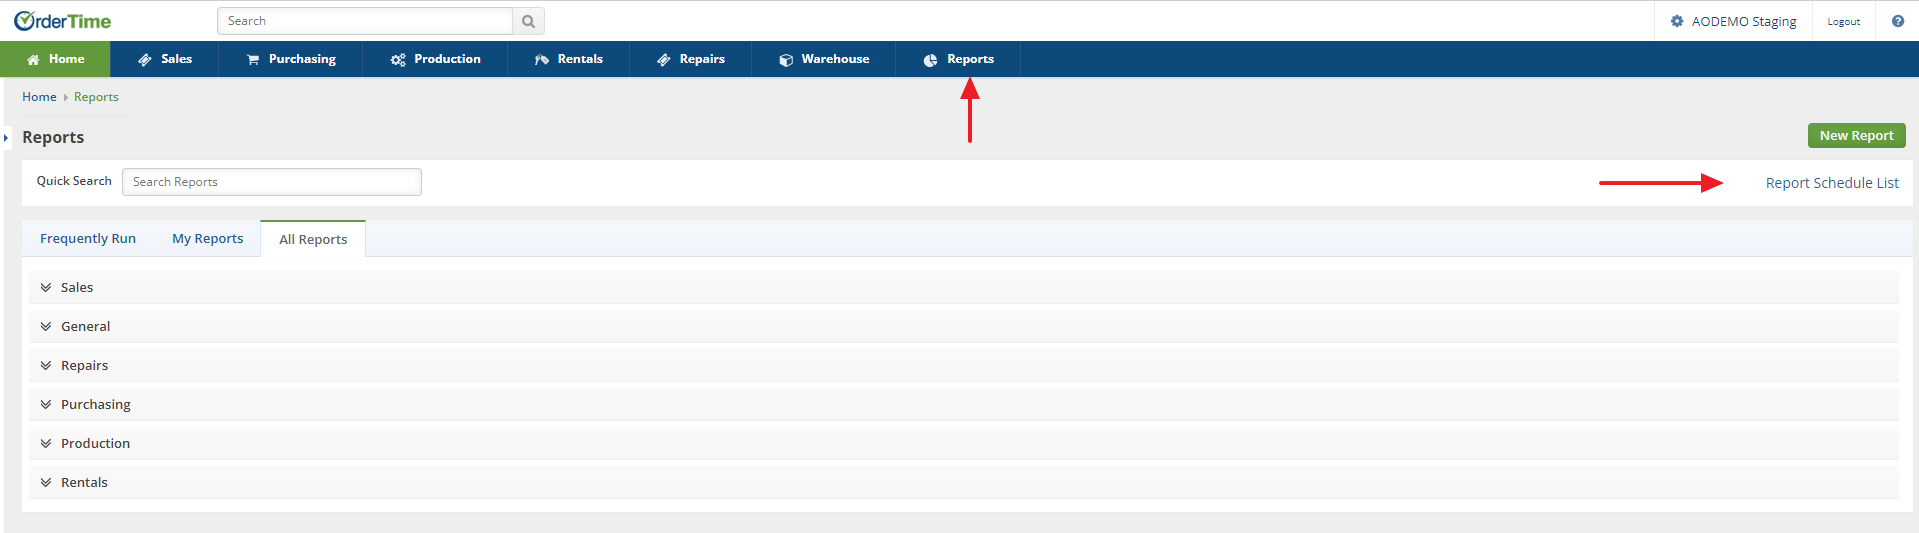
On the Reports main page select the "Request Schedule List" link located on the right hand side of the screen below the green New Report button.
On the next screen, you will see a listing of previously created Report Schedules if any have been created, and the green New Report Schedule button on the right hand side of the screen.

You can format the Report Schedules screen appearance by customizing the Column information by clicking the Cog Wheel in the upper right hand corner of the screen. The List Options window will open and by selecting the Columns tab you can add or remove columns providing data that is needed.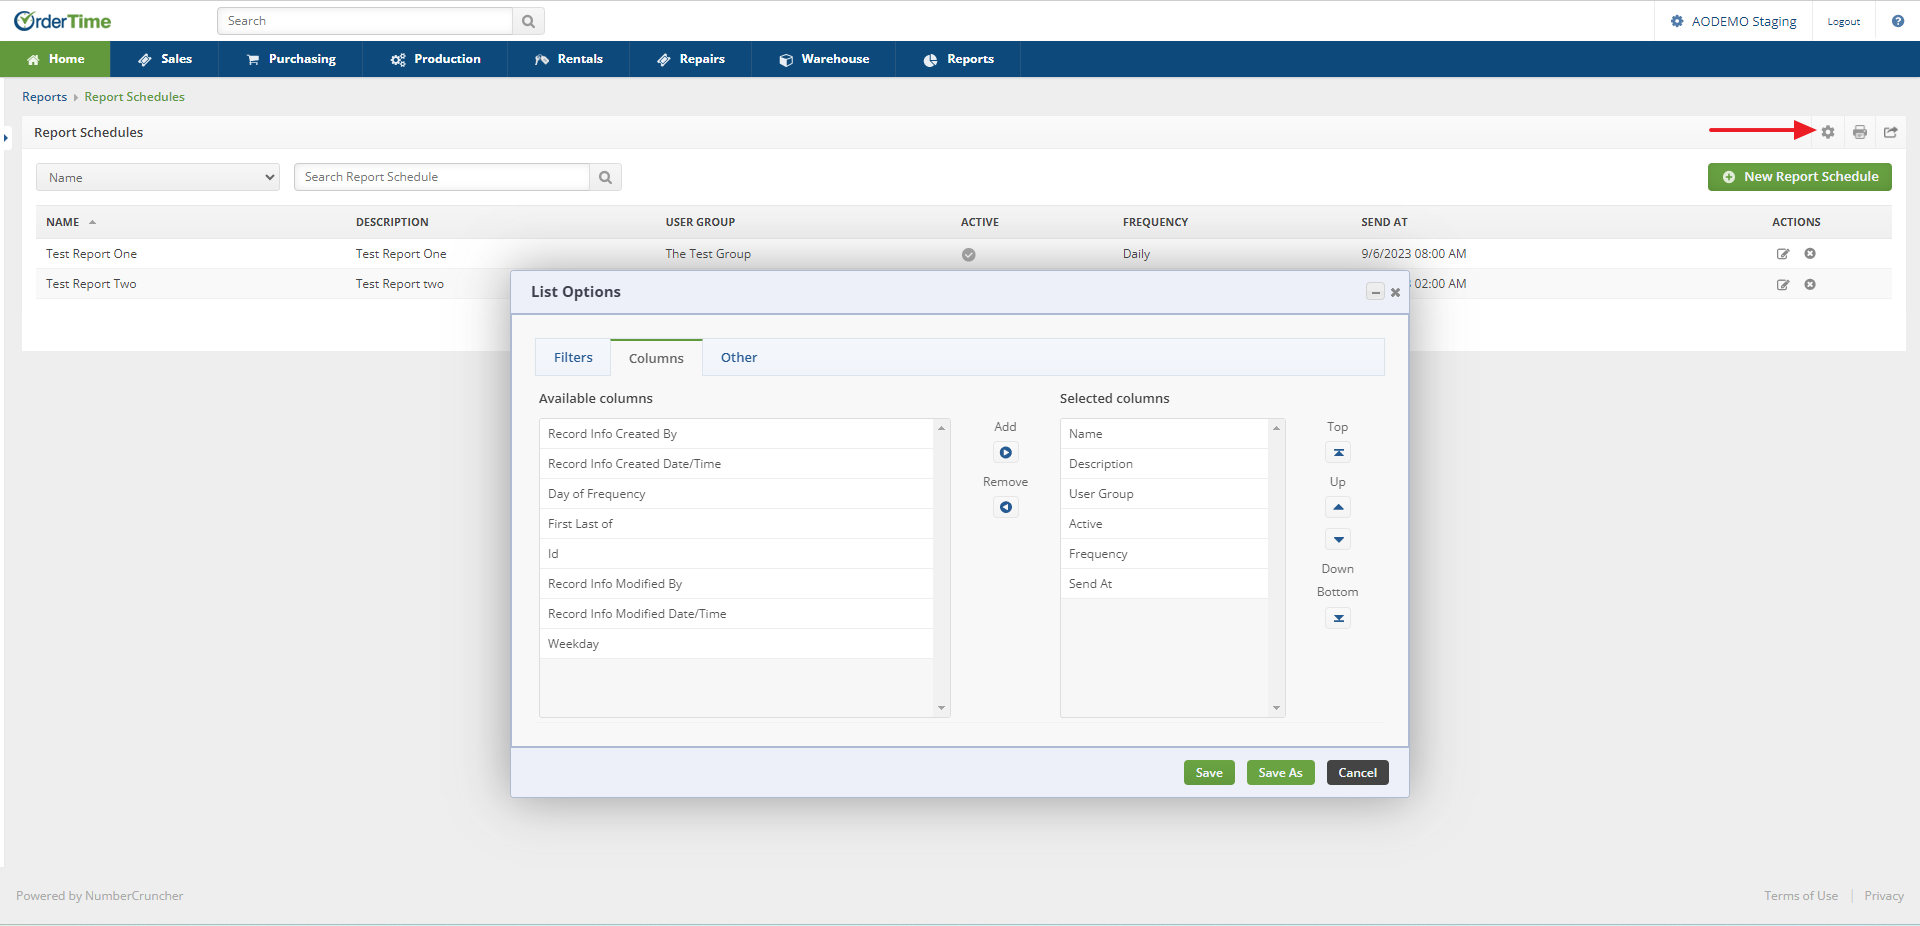
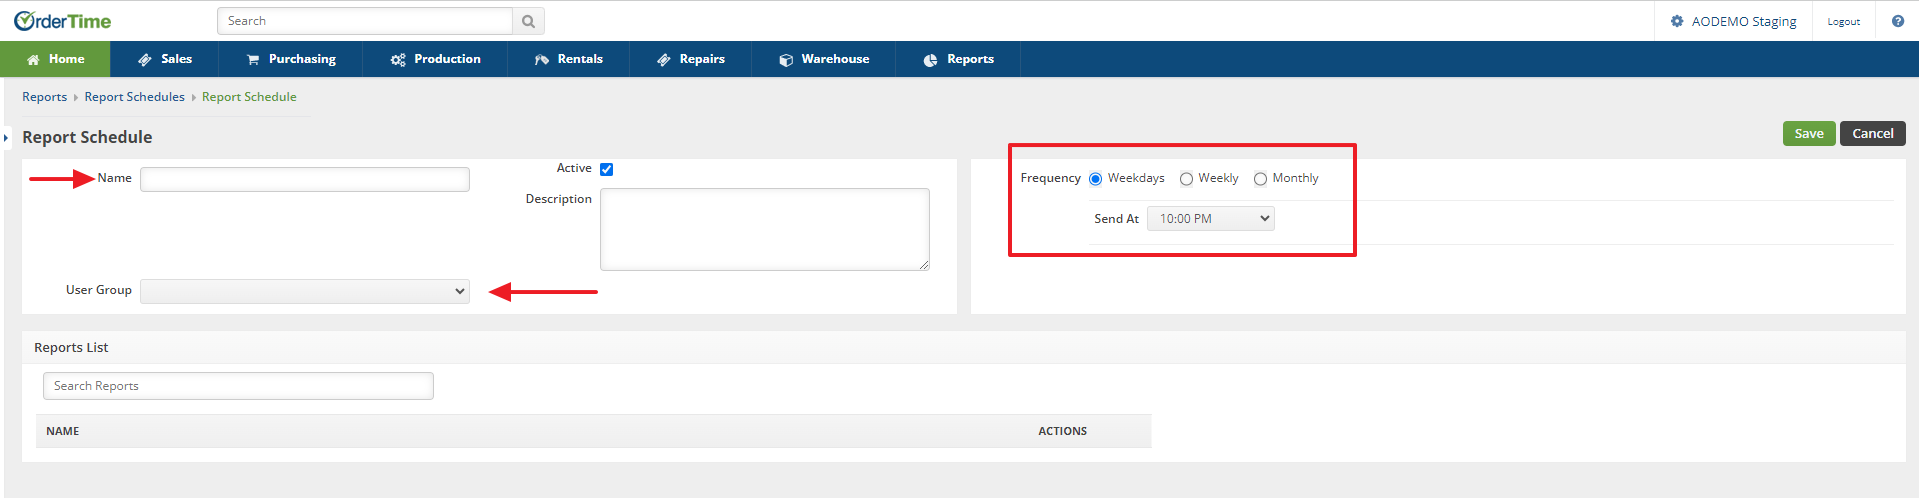
Selecting the green New Report Schedule button will bring you to the Report Schedule screen. You will need to:
- Create a Name for the scheduled report.
- Assign the report to a specific User Group. This is the distribution list of those receiving the scheduled report. You can select a previously existing User Group or create a new User Group.
- Determine the schedule.

- Creating the User Group
- From your Admin page select Profile Lists
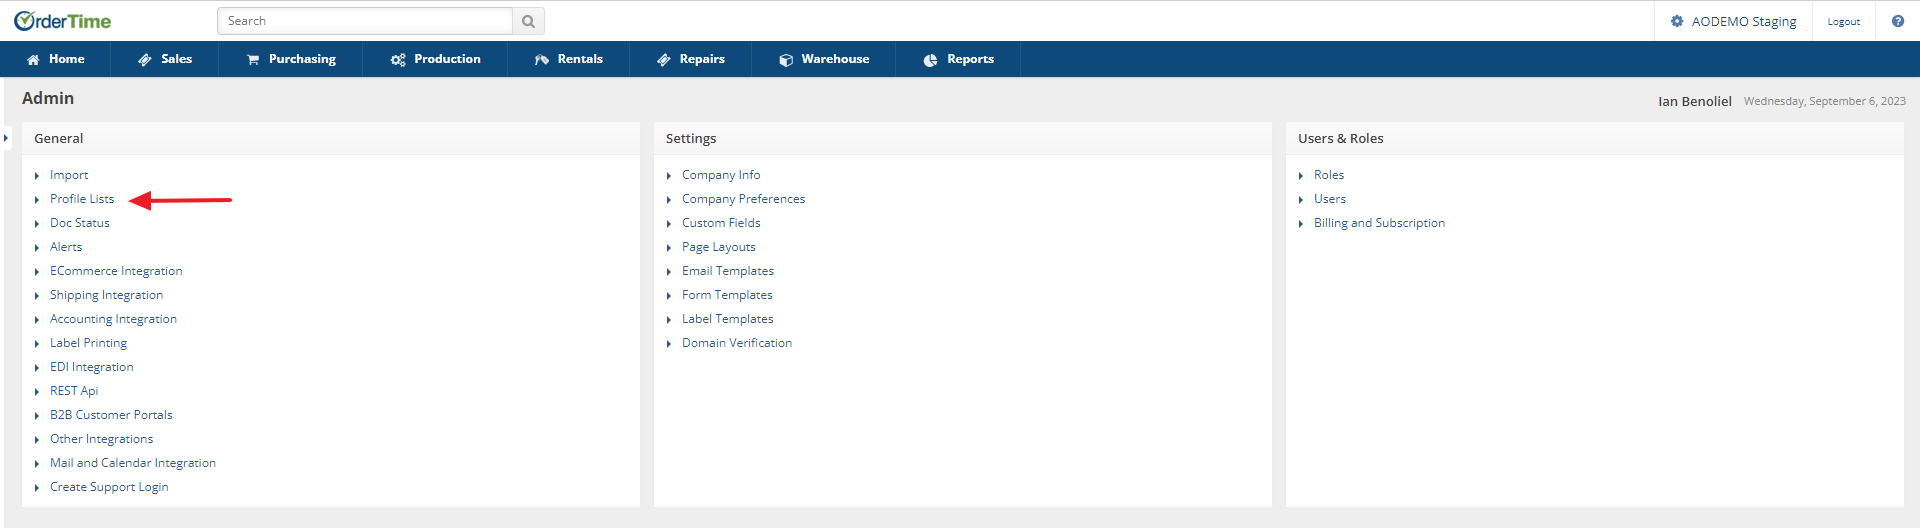
- From Profile Lists select User Groups
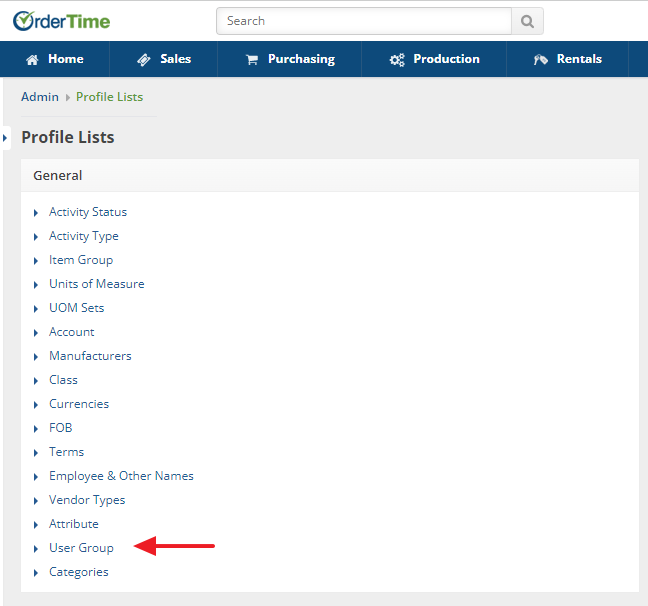
- The User Group page will open where you can create a new User group by Naming the User Group and selecting those to receive the scheduled report by checking the box next to their names.

- From your Admin page select Profile Lists
- Once the User Group has been created you can determine the Time Scheduling of the report.
- You can choose the daily Time of Day during the Monday through Friday time frame to be scheduled. (Reminder this is driven by UTC time and the example is based on EST. Your individual time zone will determine how this time reflects.)
- You can choose a Weekly time directive for a specific day of the week at a specific time.
- You can choose a specific day of the Month at a specific time.
- You can choose a specific day of a Month at a specific time.
- You can choose the daily Time of Day during the Monday through Friday time frame to be scheduled. (Reminder this is driven by UTC time and the example is based on EST. Your individual time zone will determine how this time reflects.)
- Once you have determined the timing of the report to be sent, you will need to select the type of report needing to be sent. You will input into the Report List field the report type and be presented with the available reports that can be scheduled. In this example Sales was input.
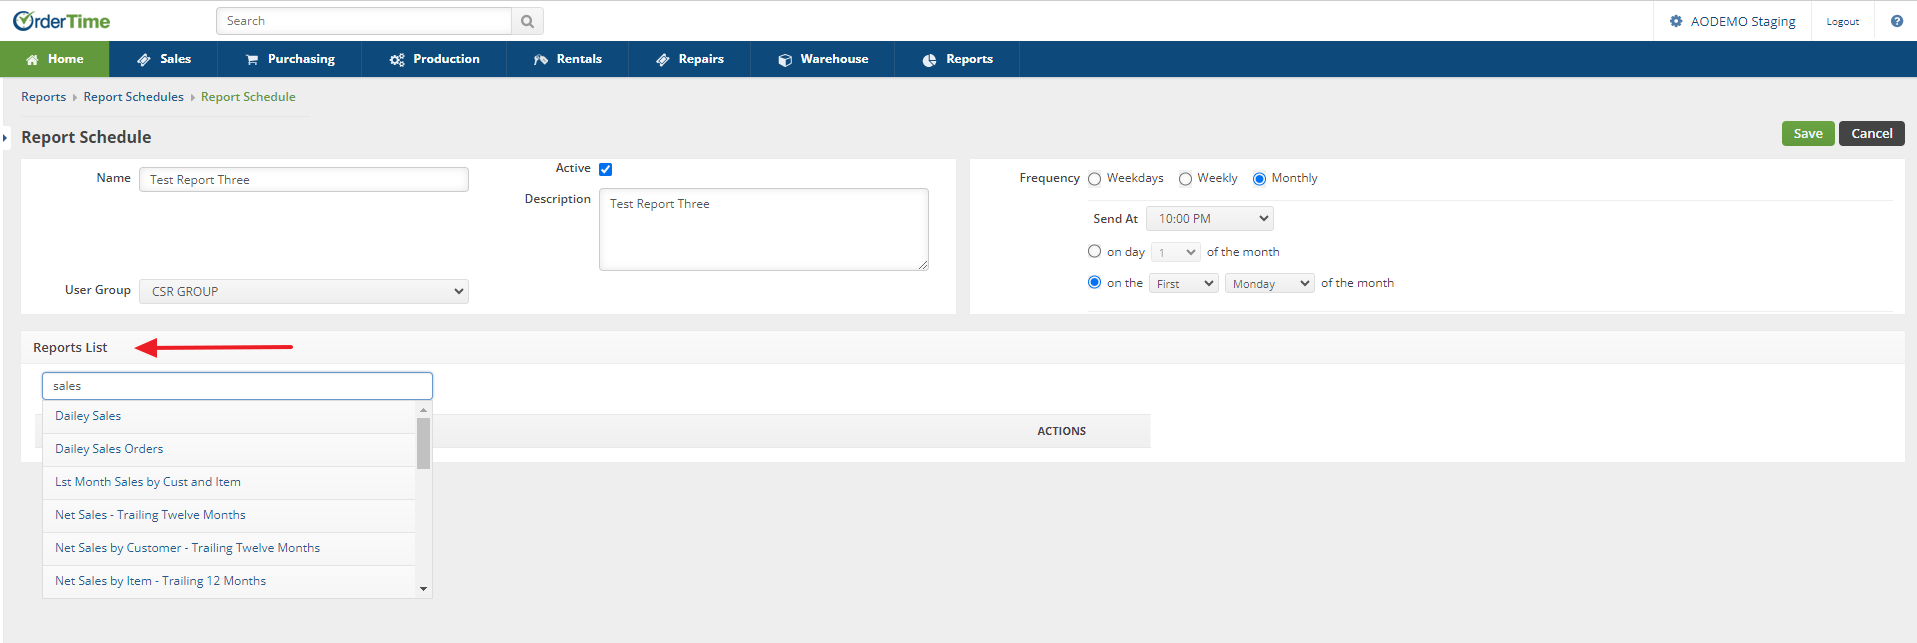
- Once the report type has been selected you can click the green Save button in the upper right hand portion of the screen. The screen will then present the listing of all scheduled reports.