Overview:
When you've assigned a serial number to an individual item or a lot to a group of items in Order Time, tracking their expiration dates is a crucial step for effective inventory management. Here's a step-by-step guide on how to do it:
Example Scenario:
The expiration dates for lot and serial are set on the receiver or on an adjustment for the item needing the expiration in this case S-16783 on a receiver.
If you need additional information, refer to the associated video for detailed guidance about assigning lot and serial: Video - Lot & Serial Number Tracking Demo
Instructions:
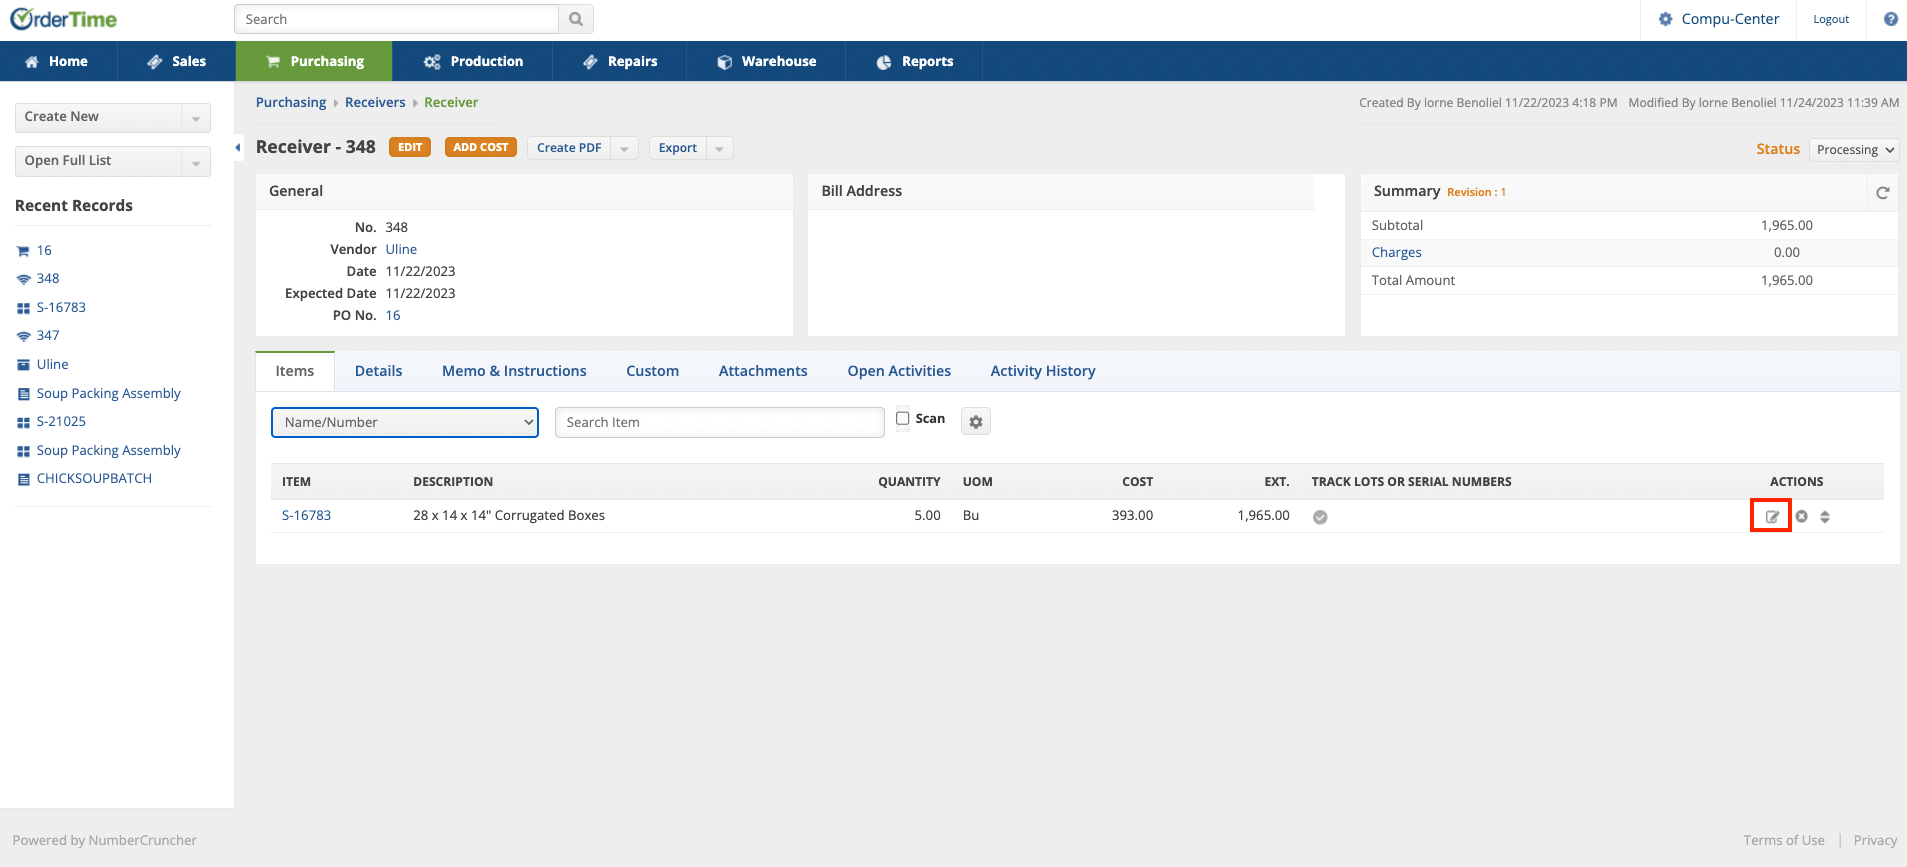
- First we navigate to the receiver for S-16783.
Access Line Item Editing
click the line item edit button for item S-16783 on the right hand side of the receiver
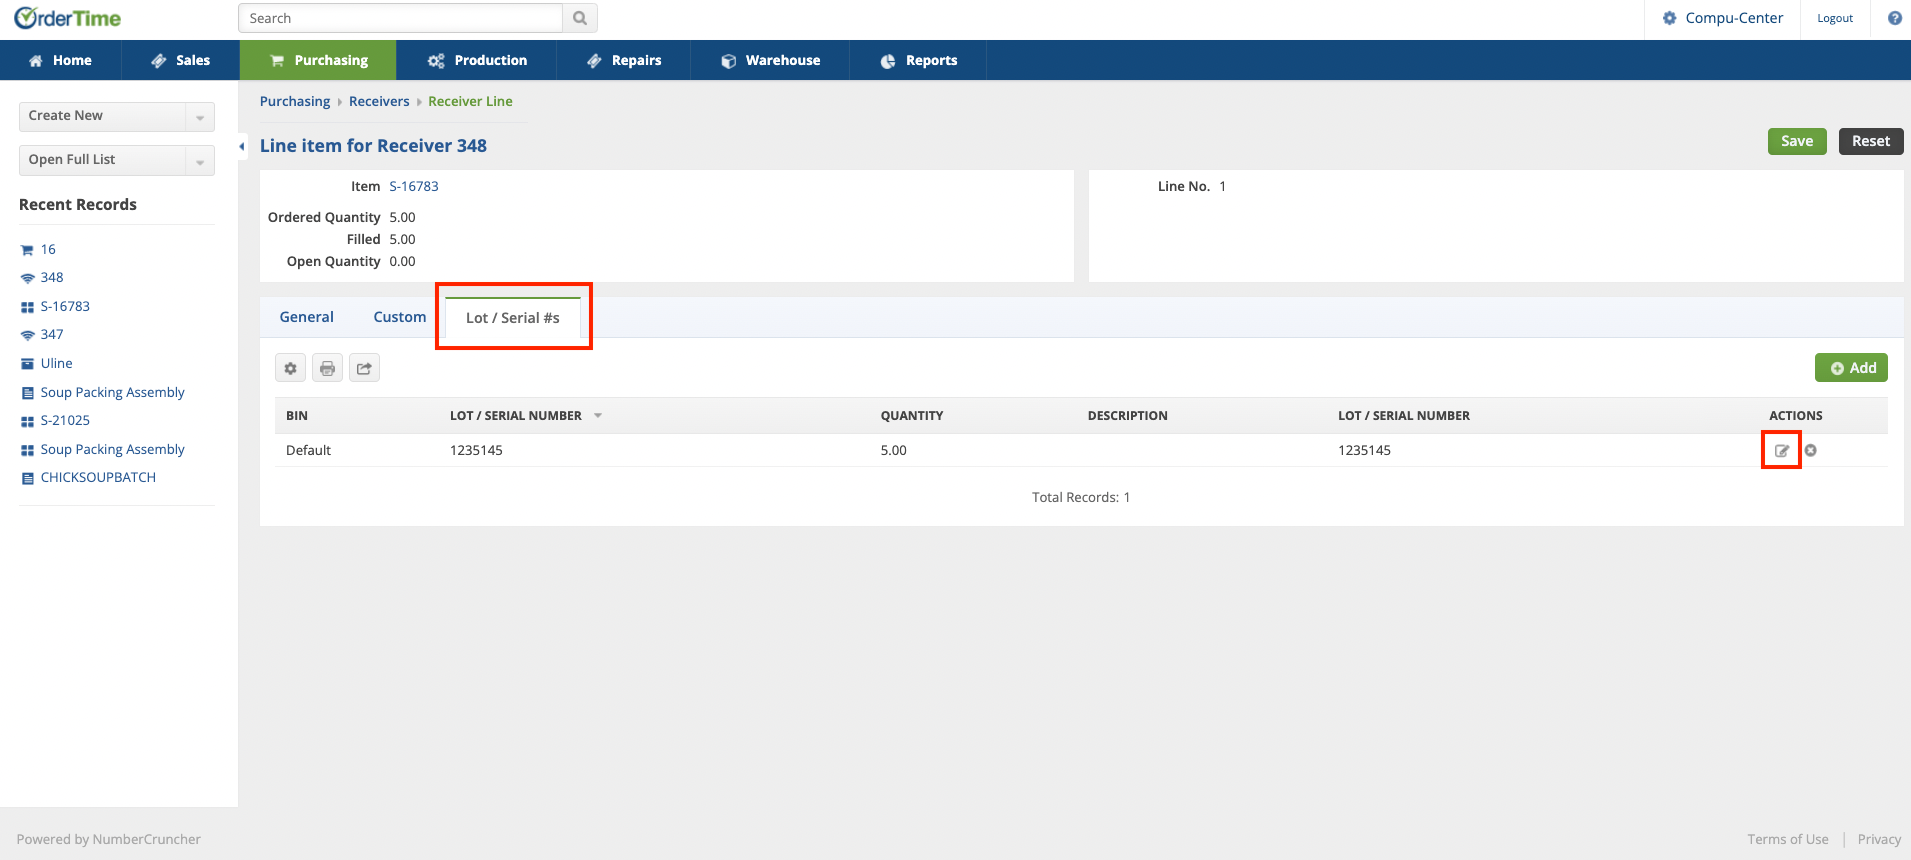
Navigate to Lot and Serial Editing:
Move to the "Lot and Serial" tab on the editing page.
Enter Lot/Serial Editing Page:
Click the "Edit" button again to open the editing popup.
Set Expiration Date:
Locate the expiration date field within the popup.
Fill in the expiration date information and then hit save in the bottom right to the popup

Adjustments
Changing expirations in an adjustment is a process similar to the one outlined above. When creating an adjustment for a serialized item, you will first be prompted to attach a serial number to the item. From there, the process is essentially the same as described earlier with the receiver.
